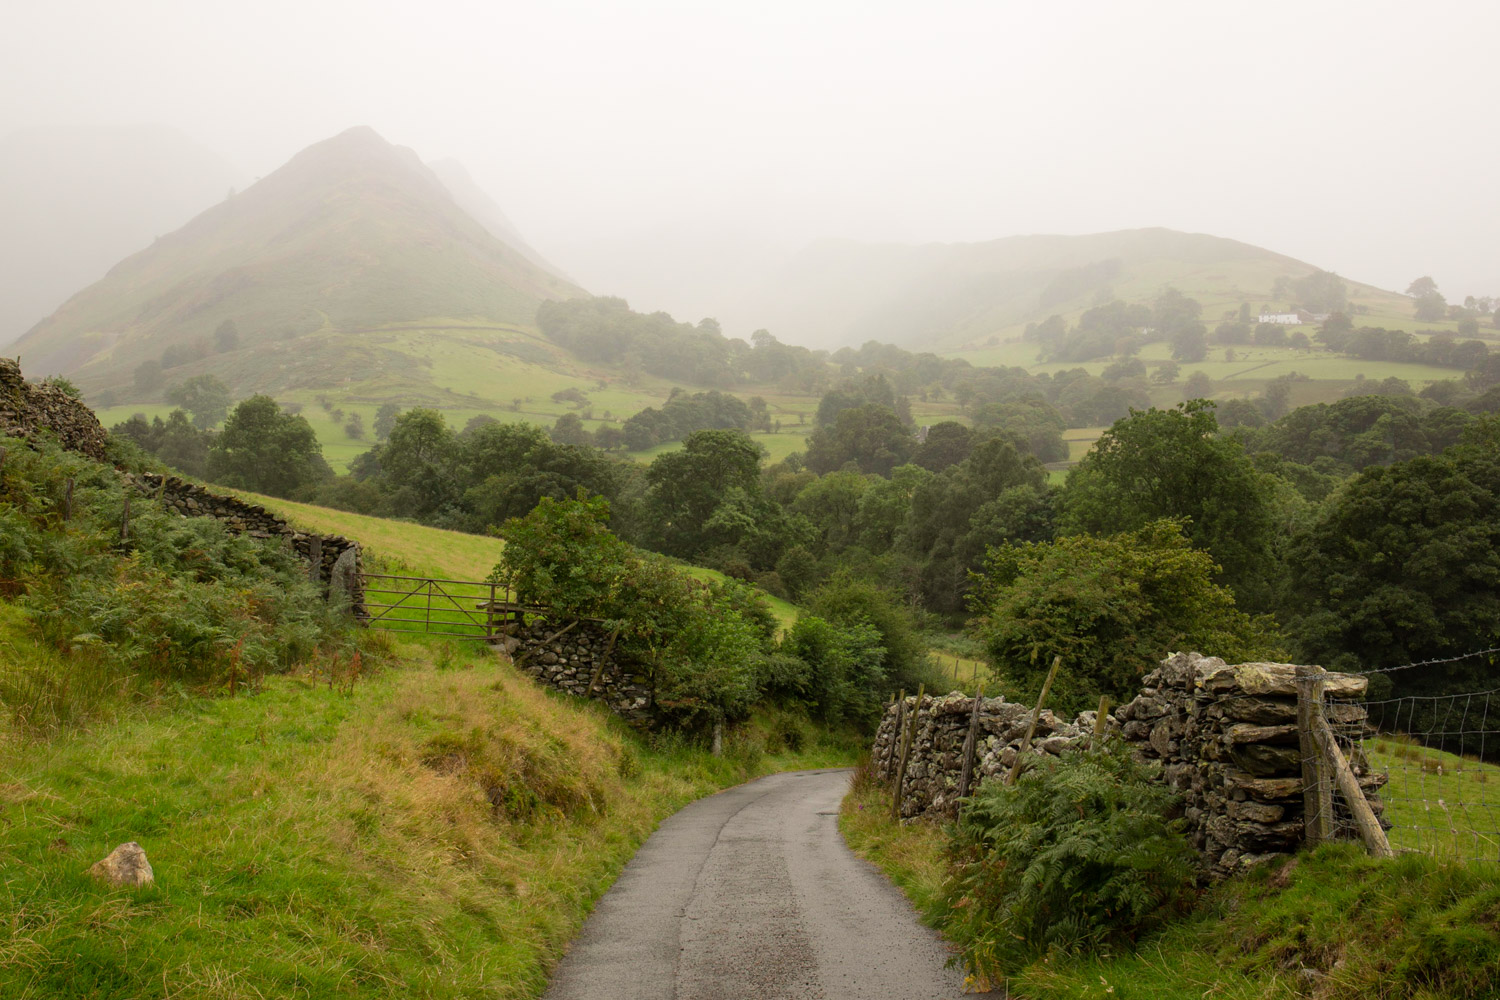
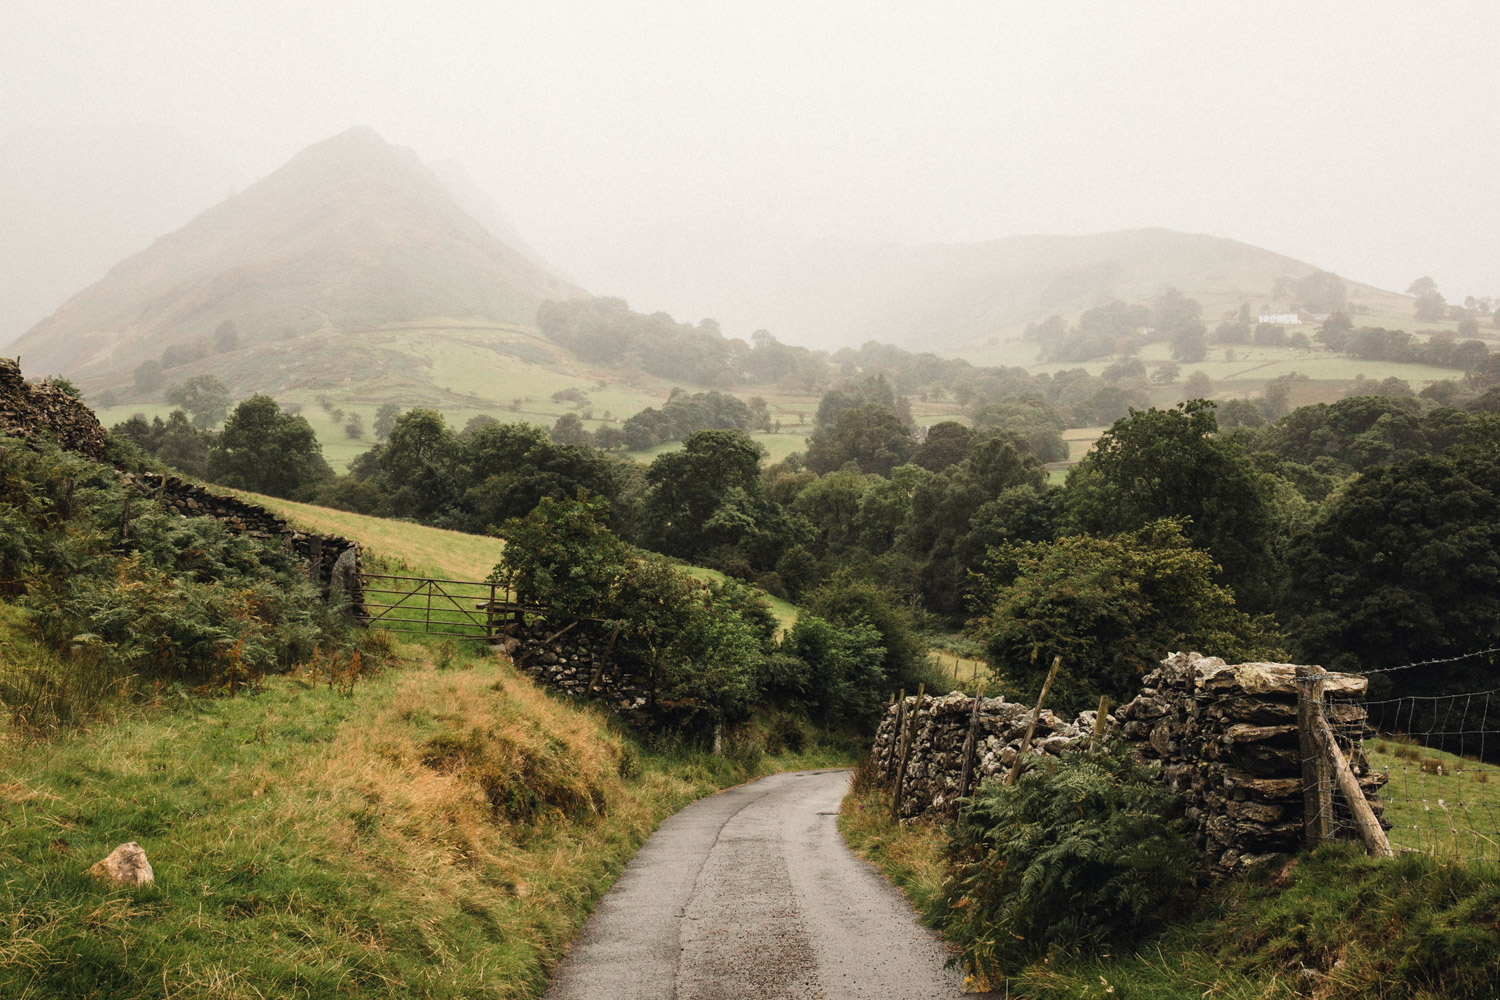
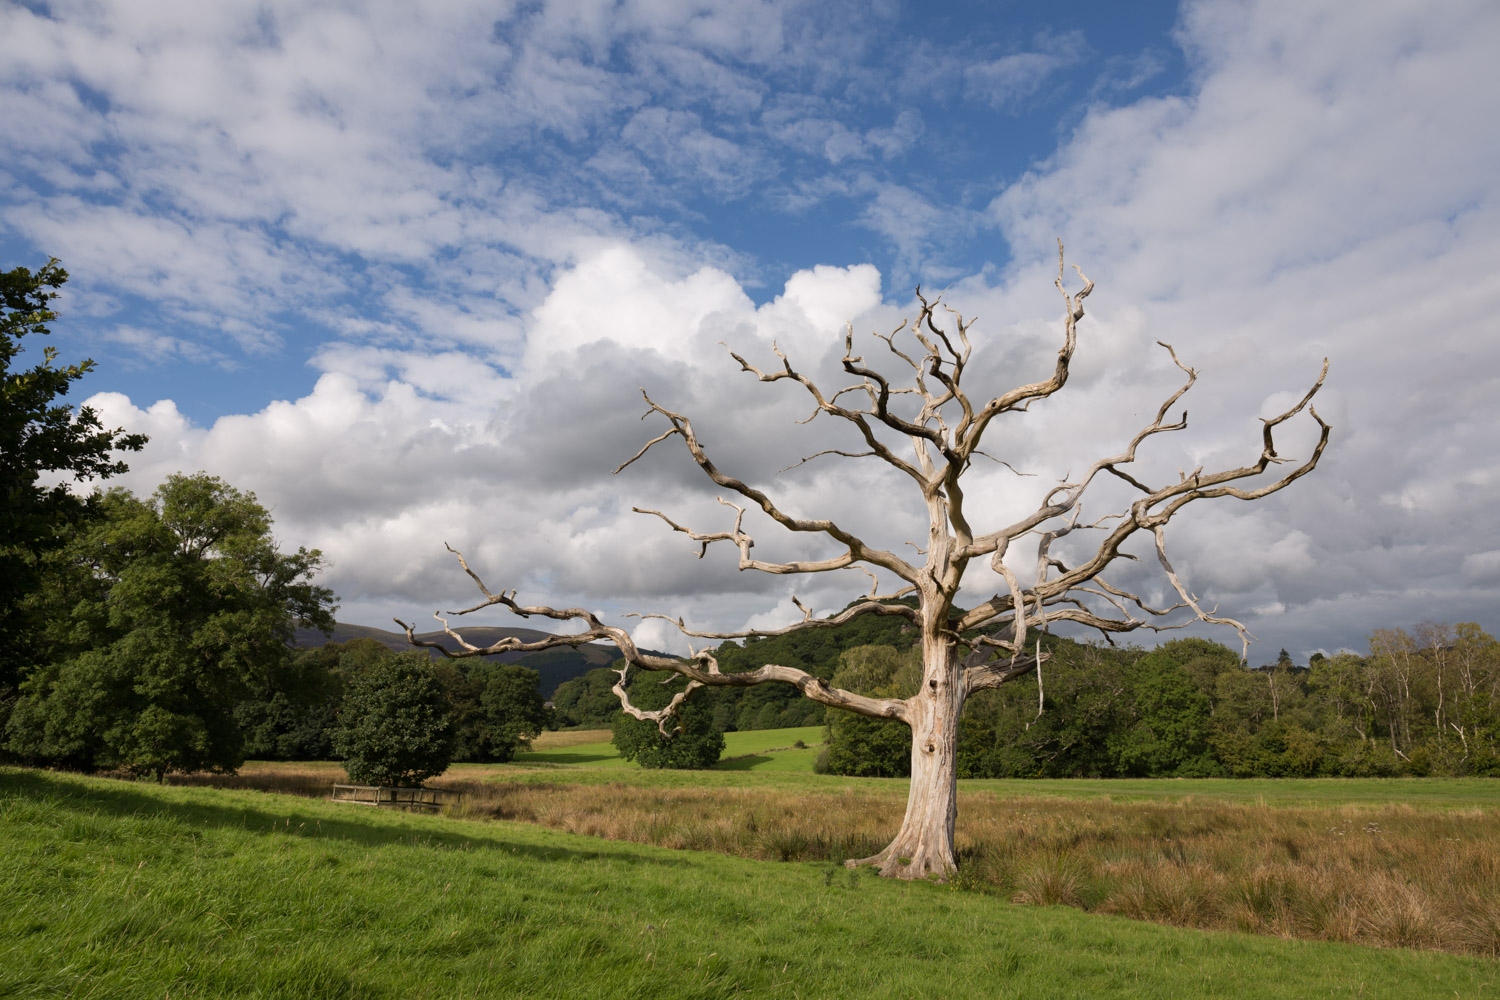
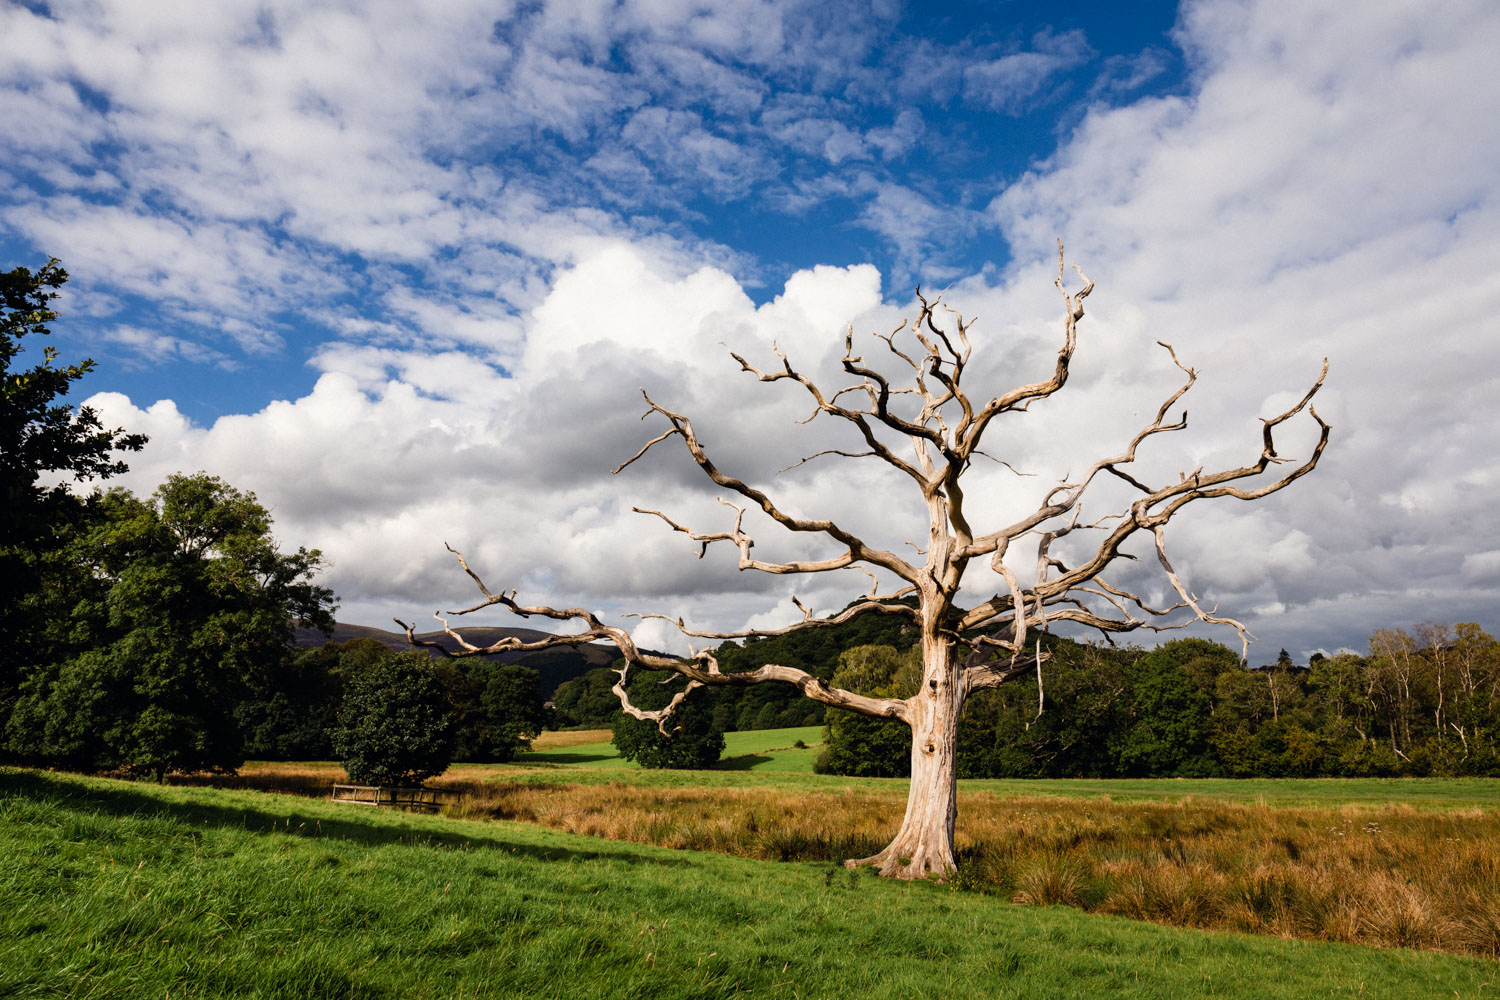
Inspired by film
Lightroom presets that naturally enhance your photography
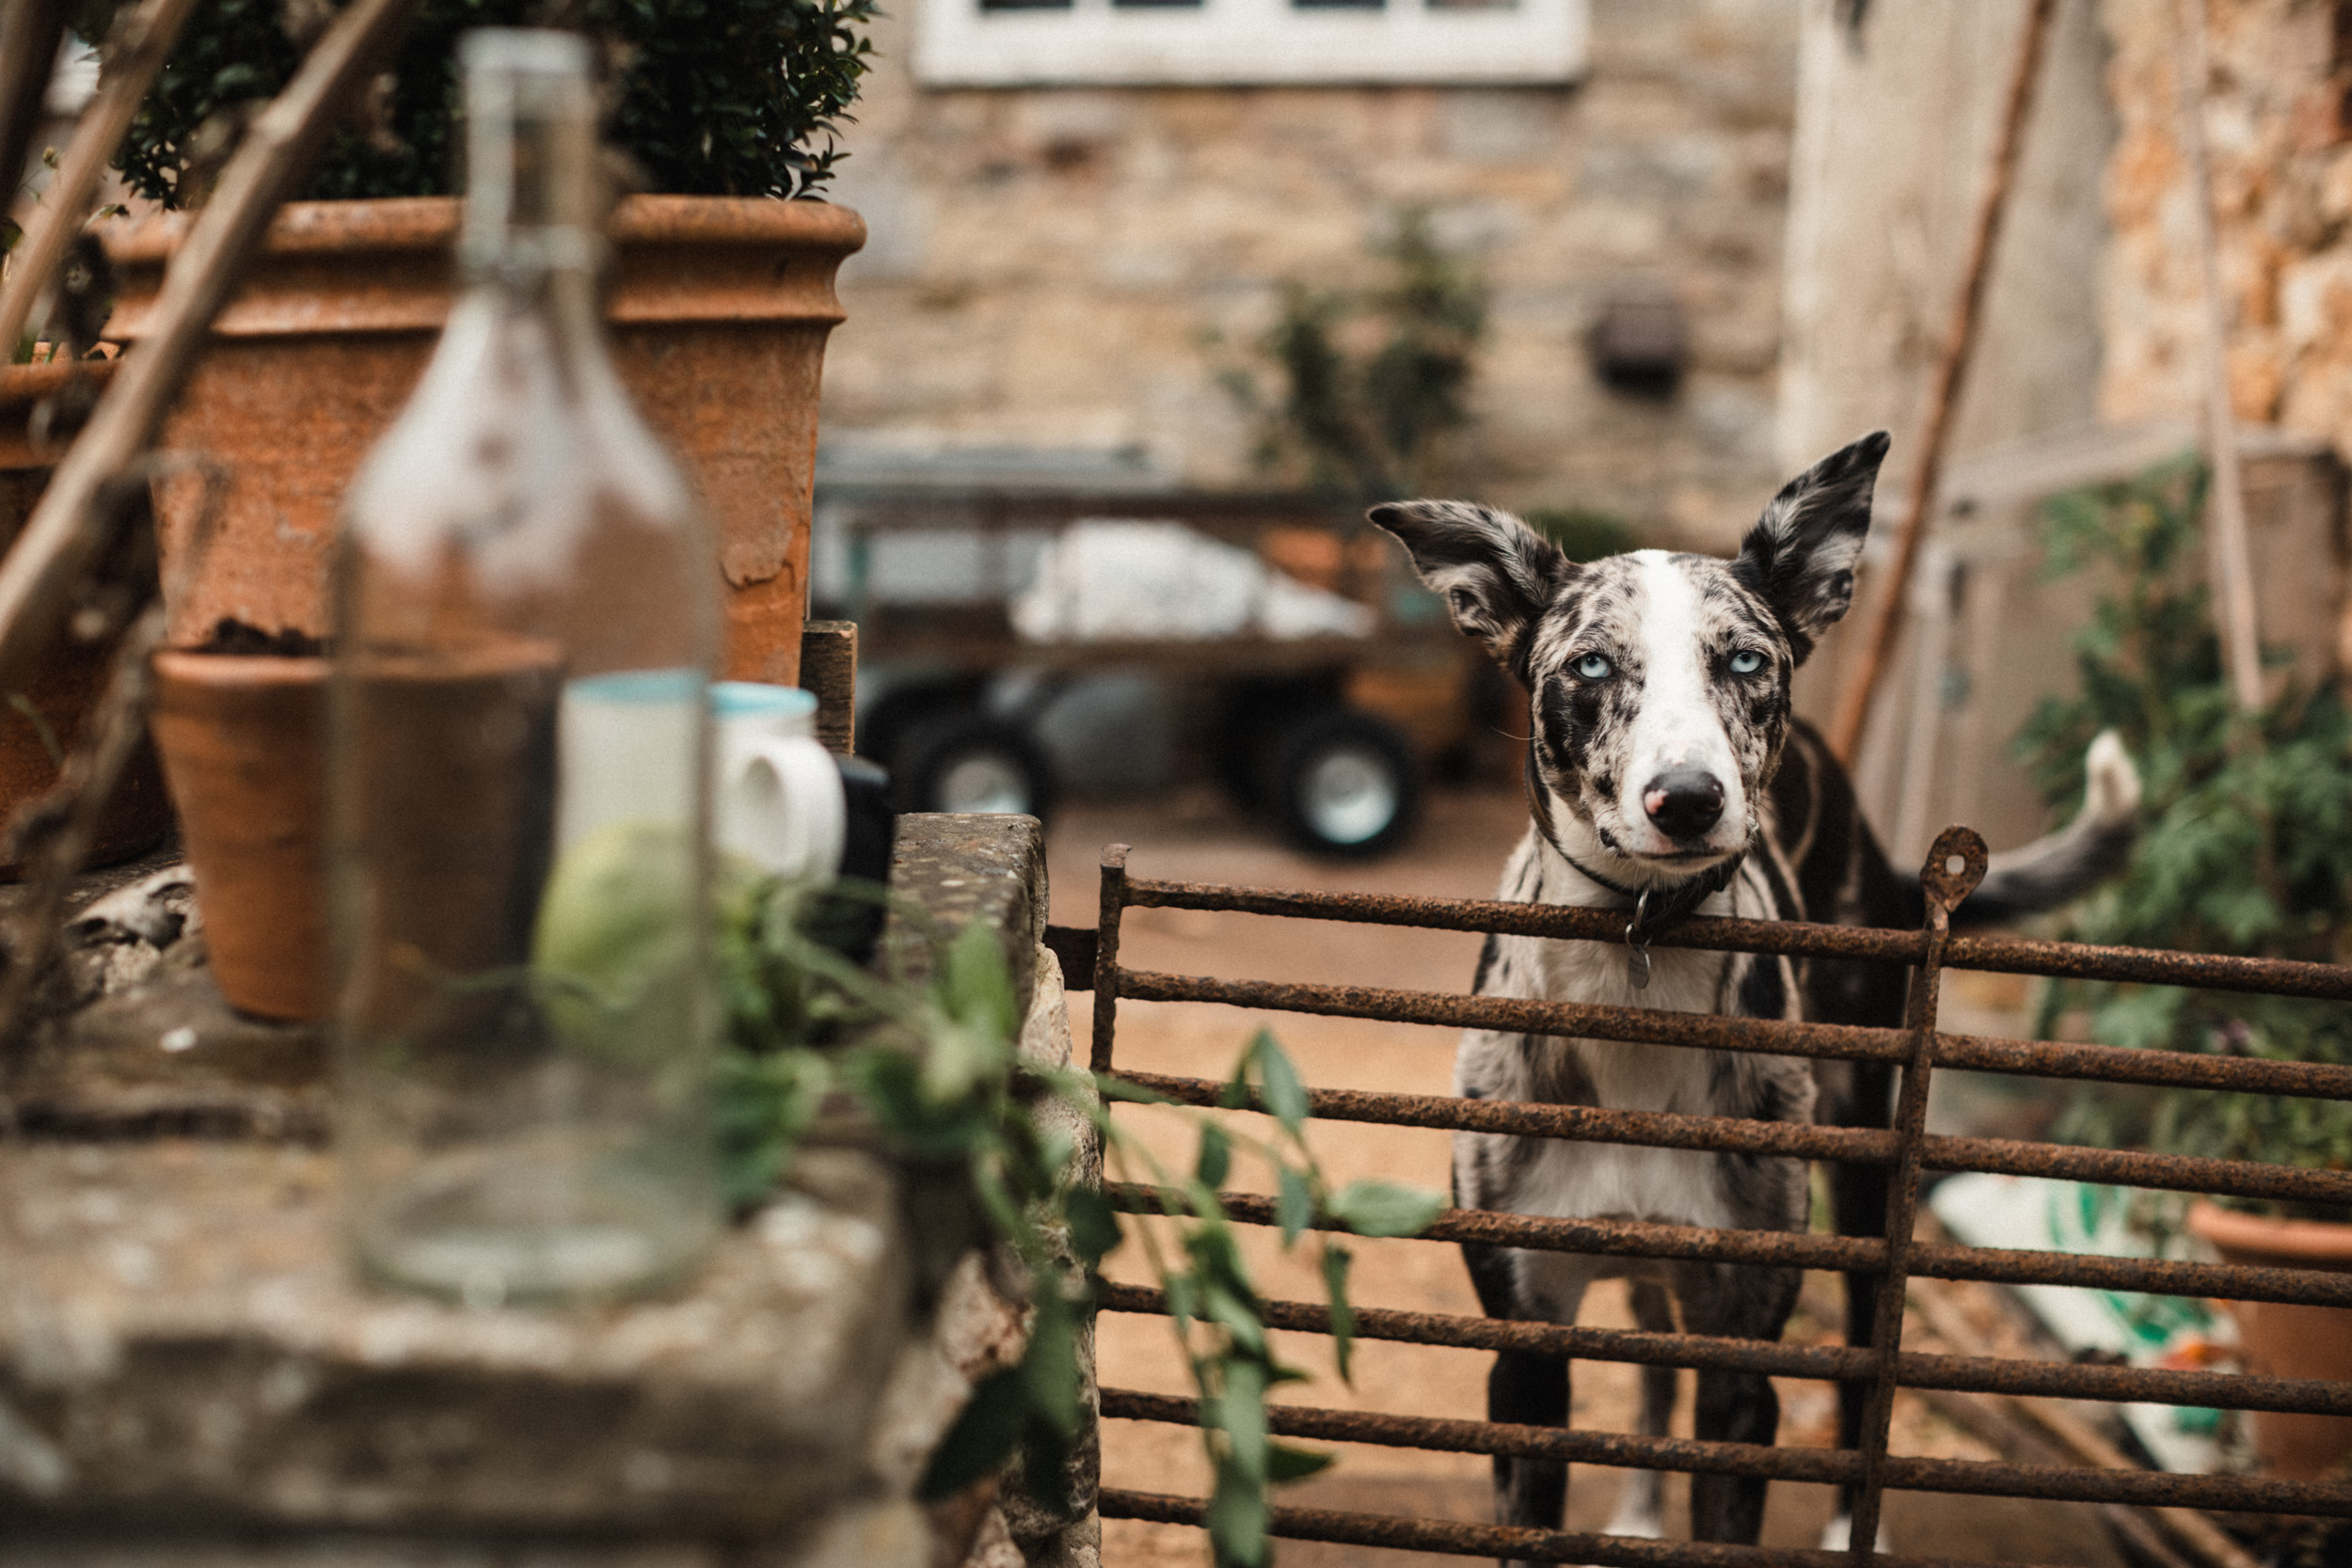
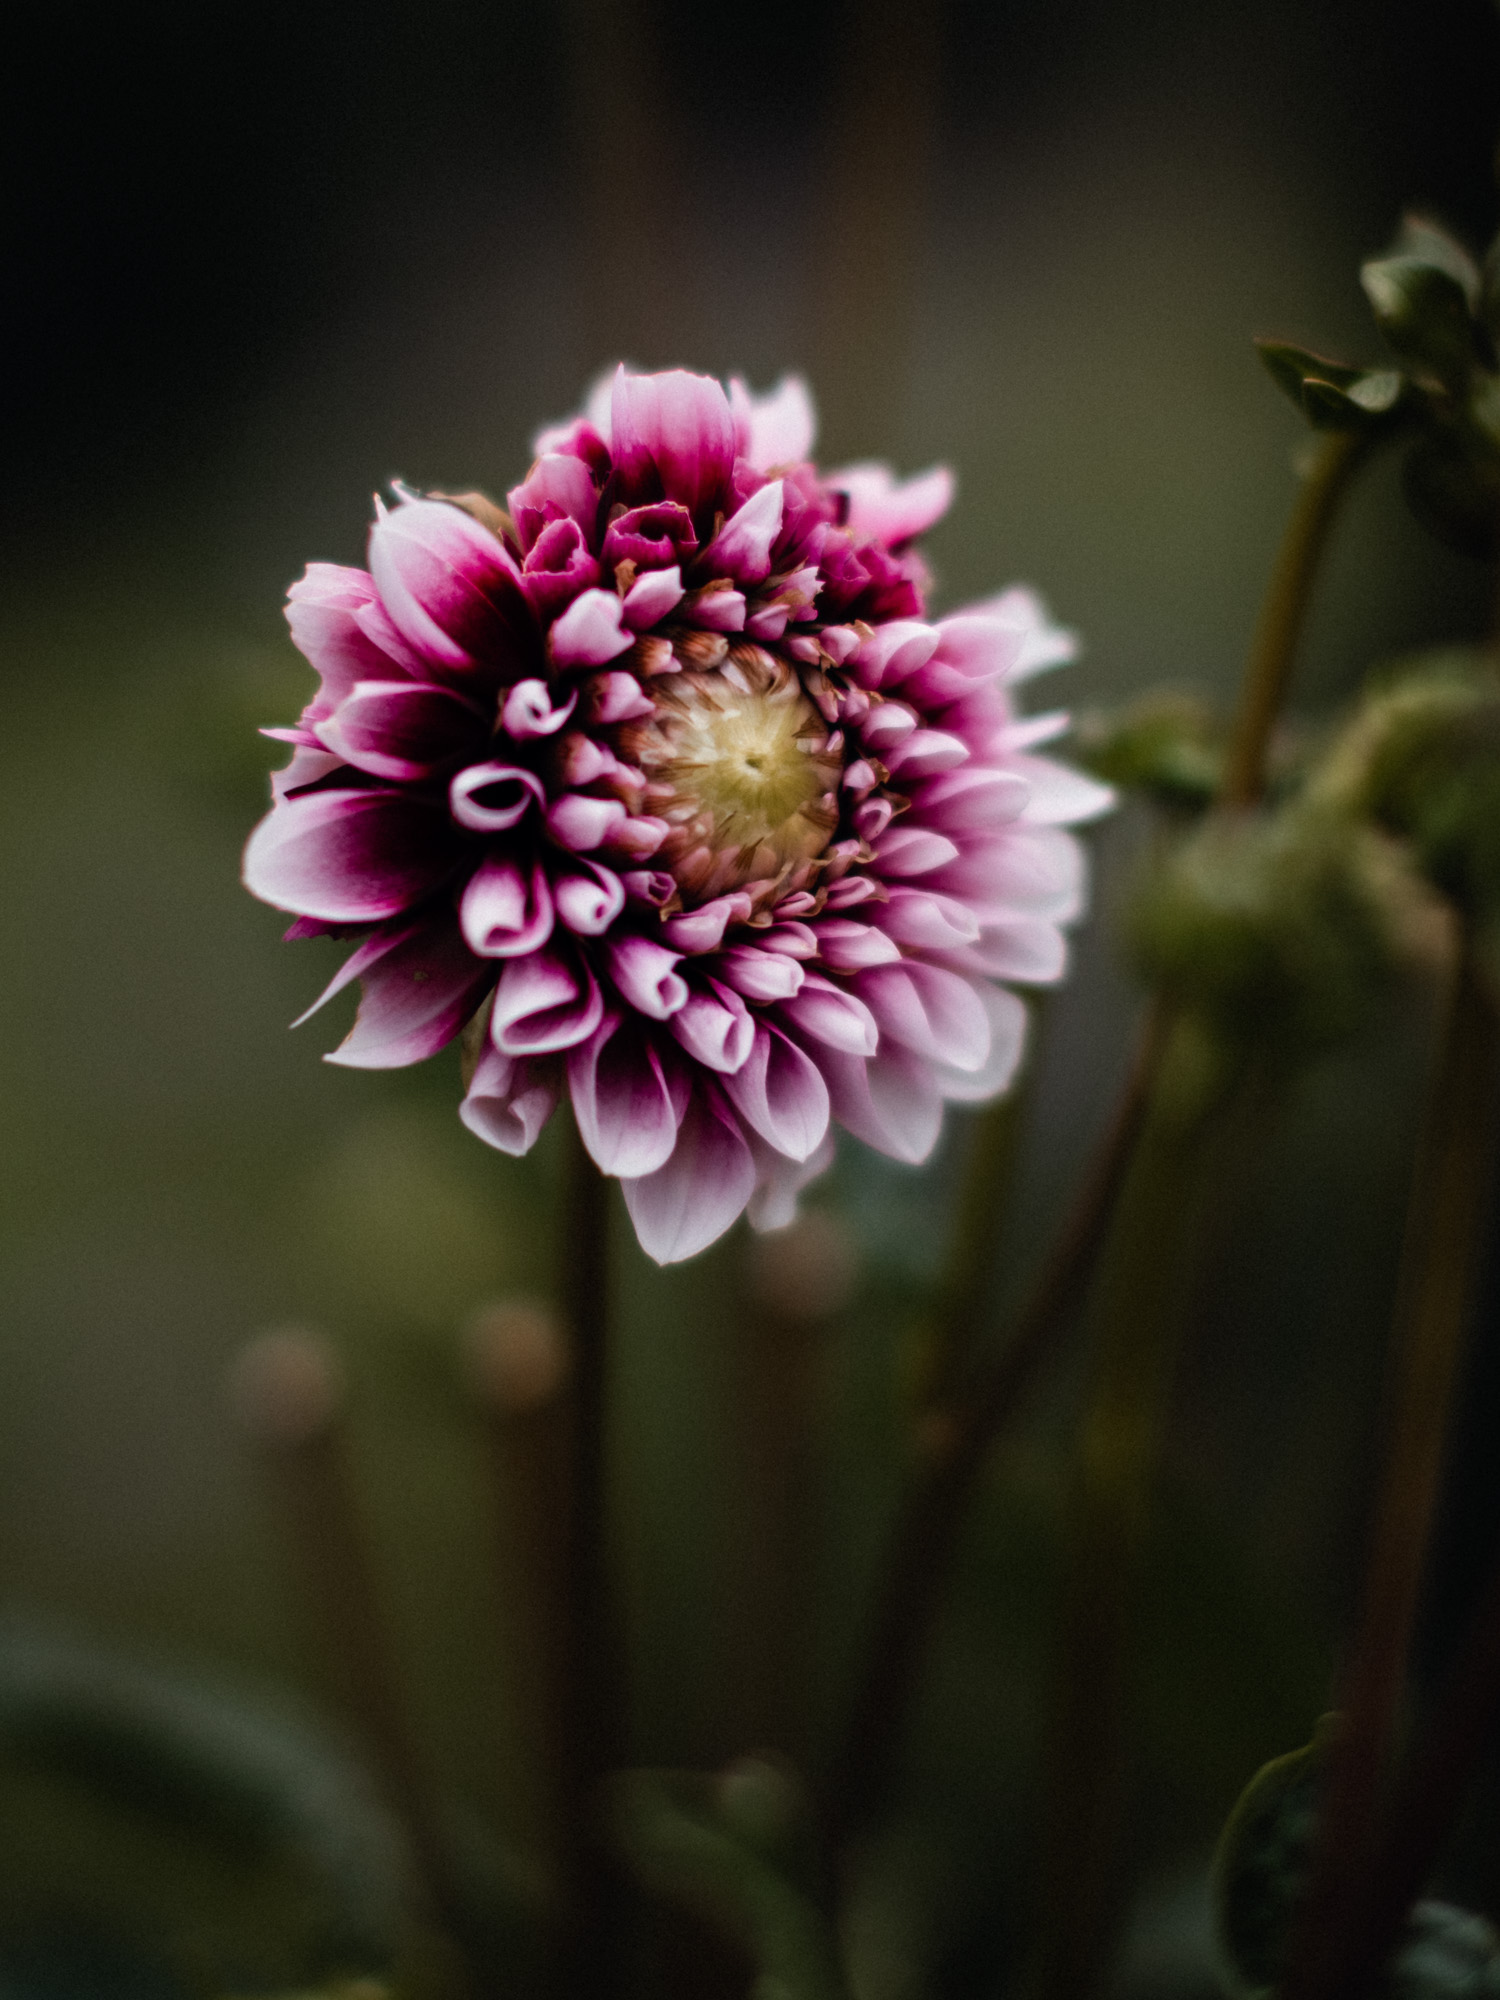
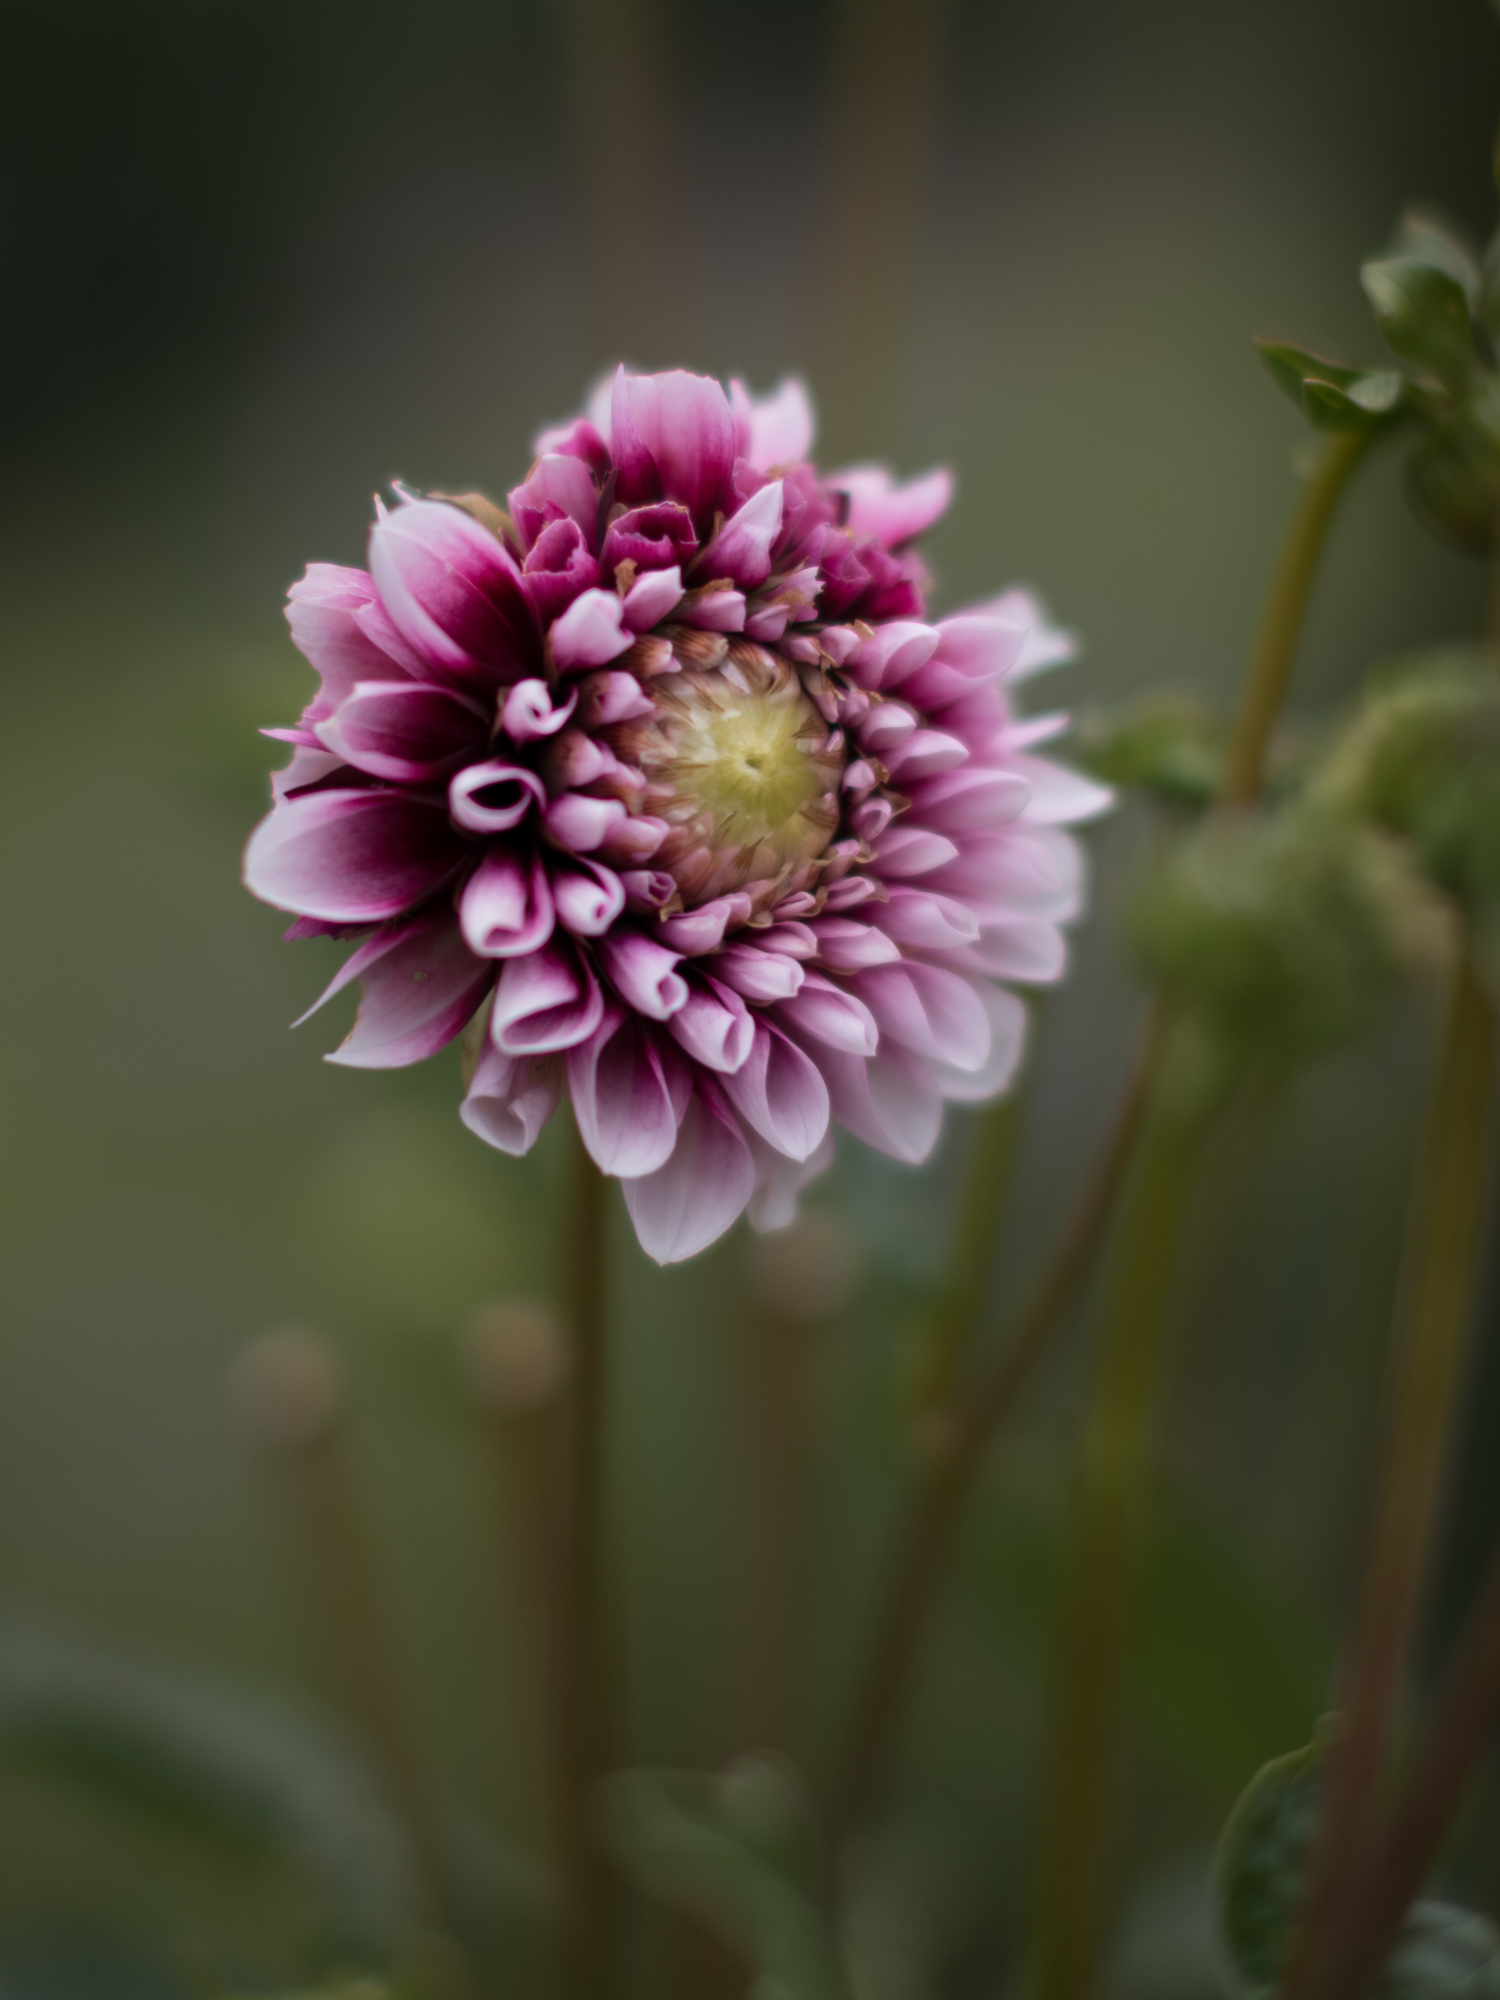
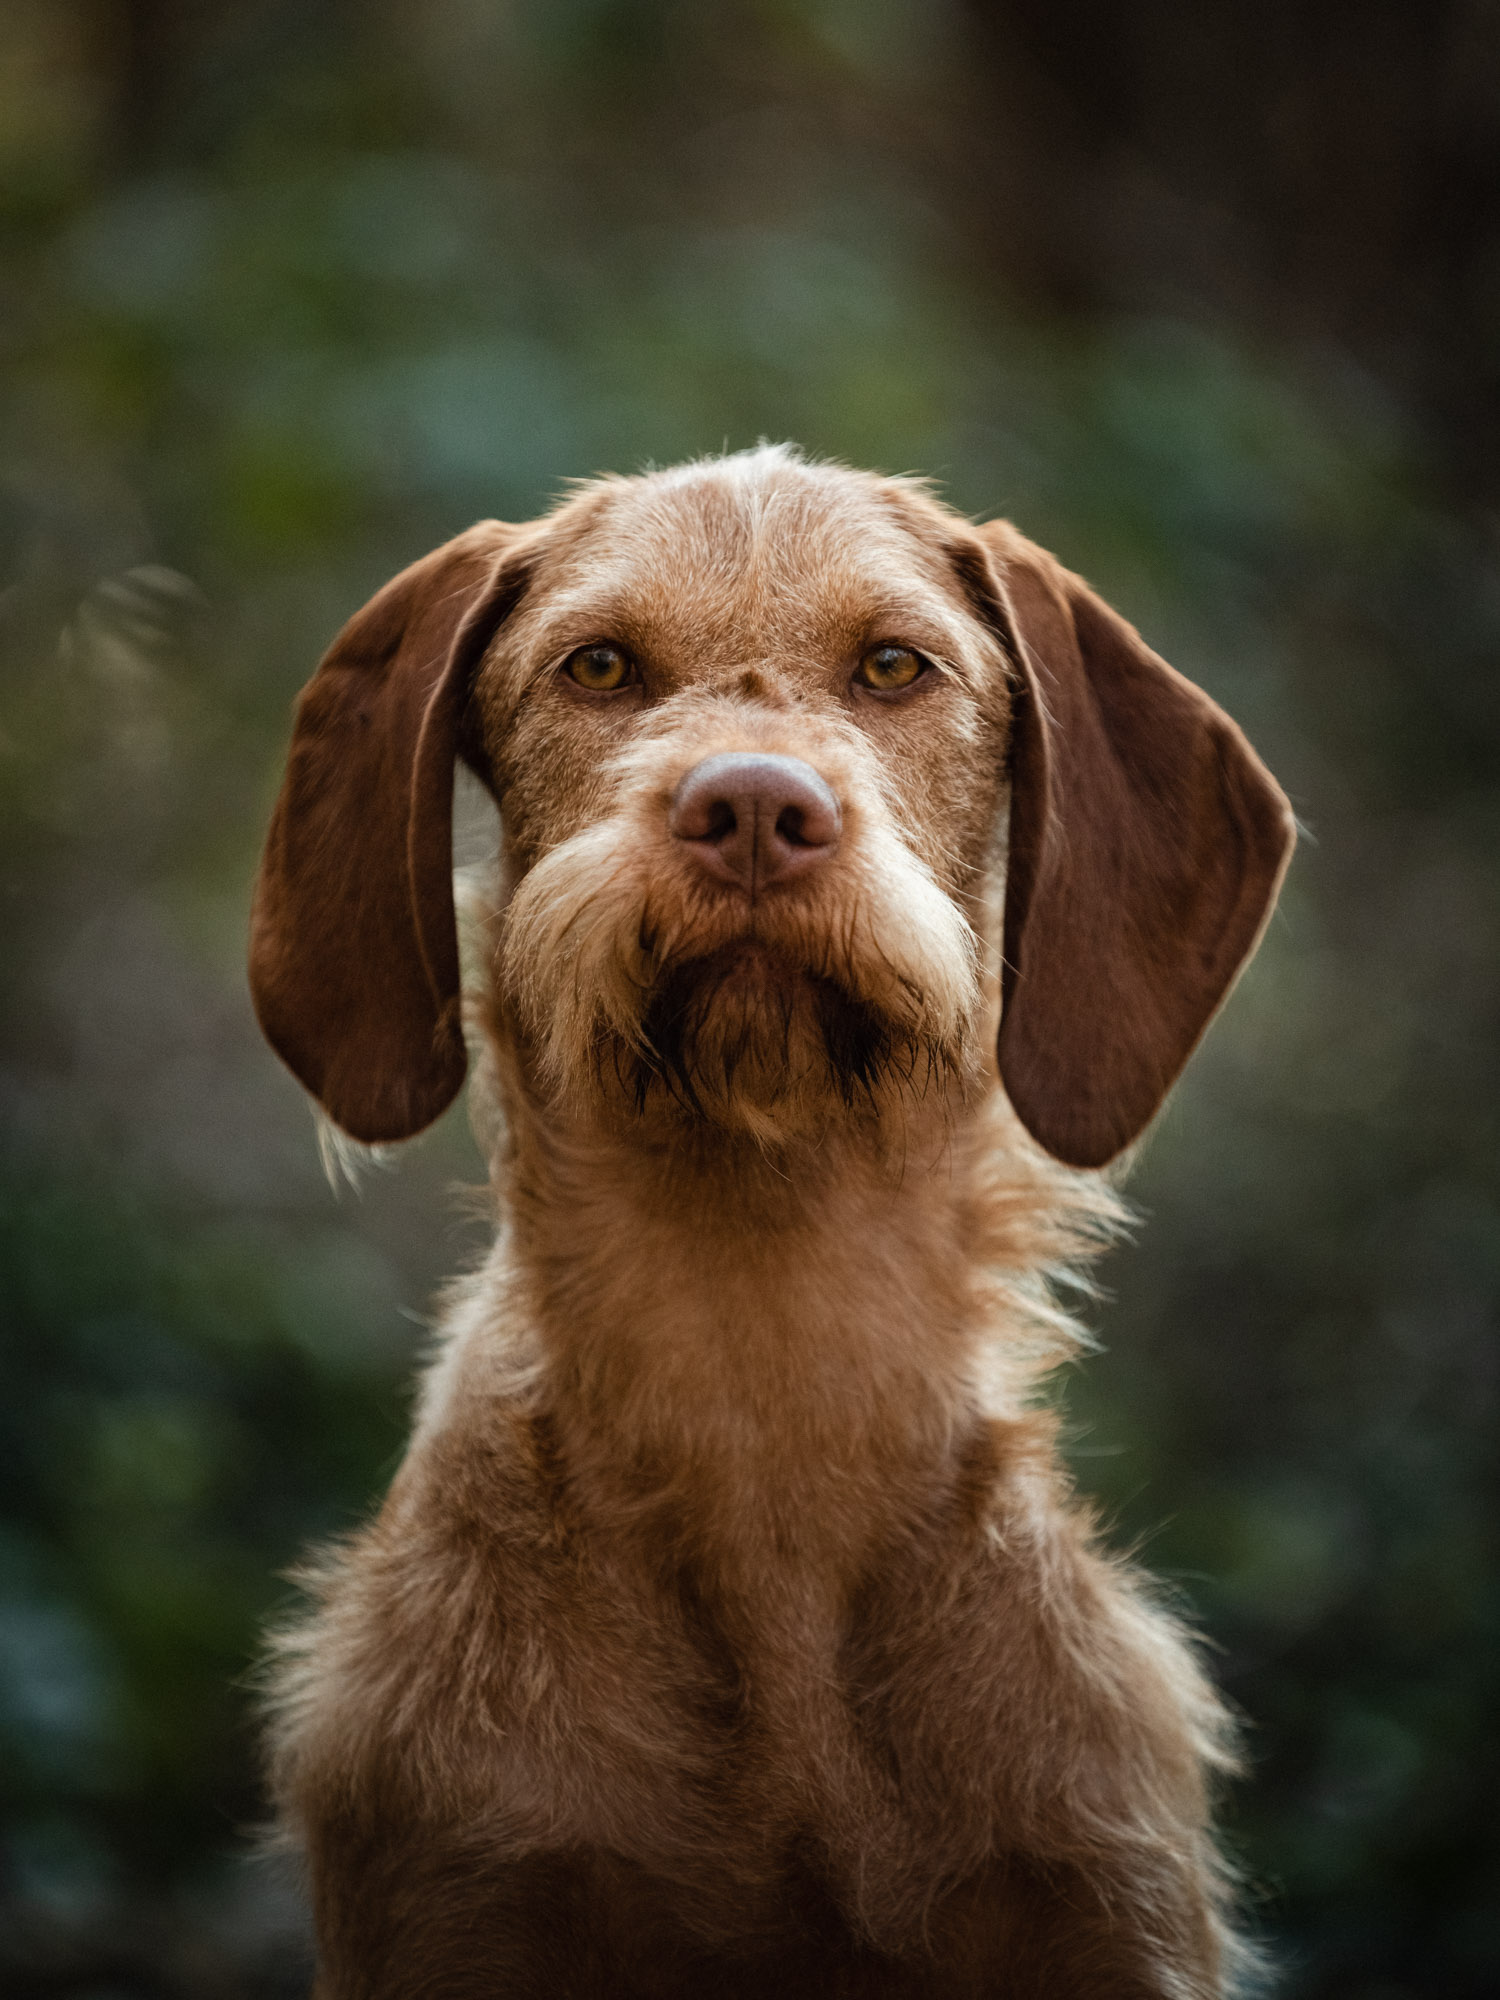
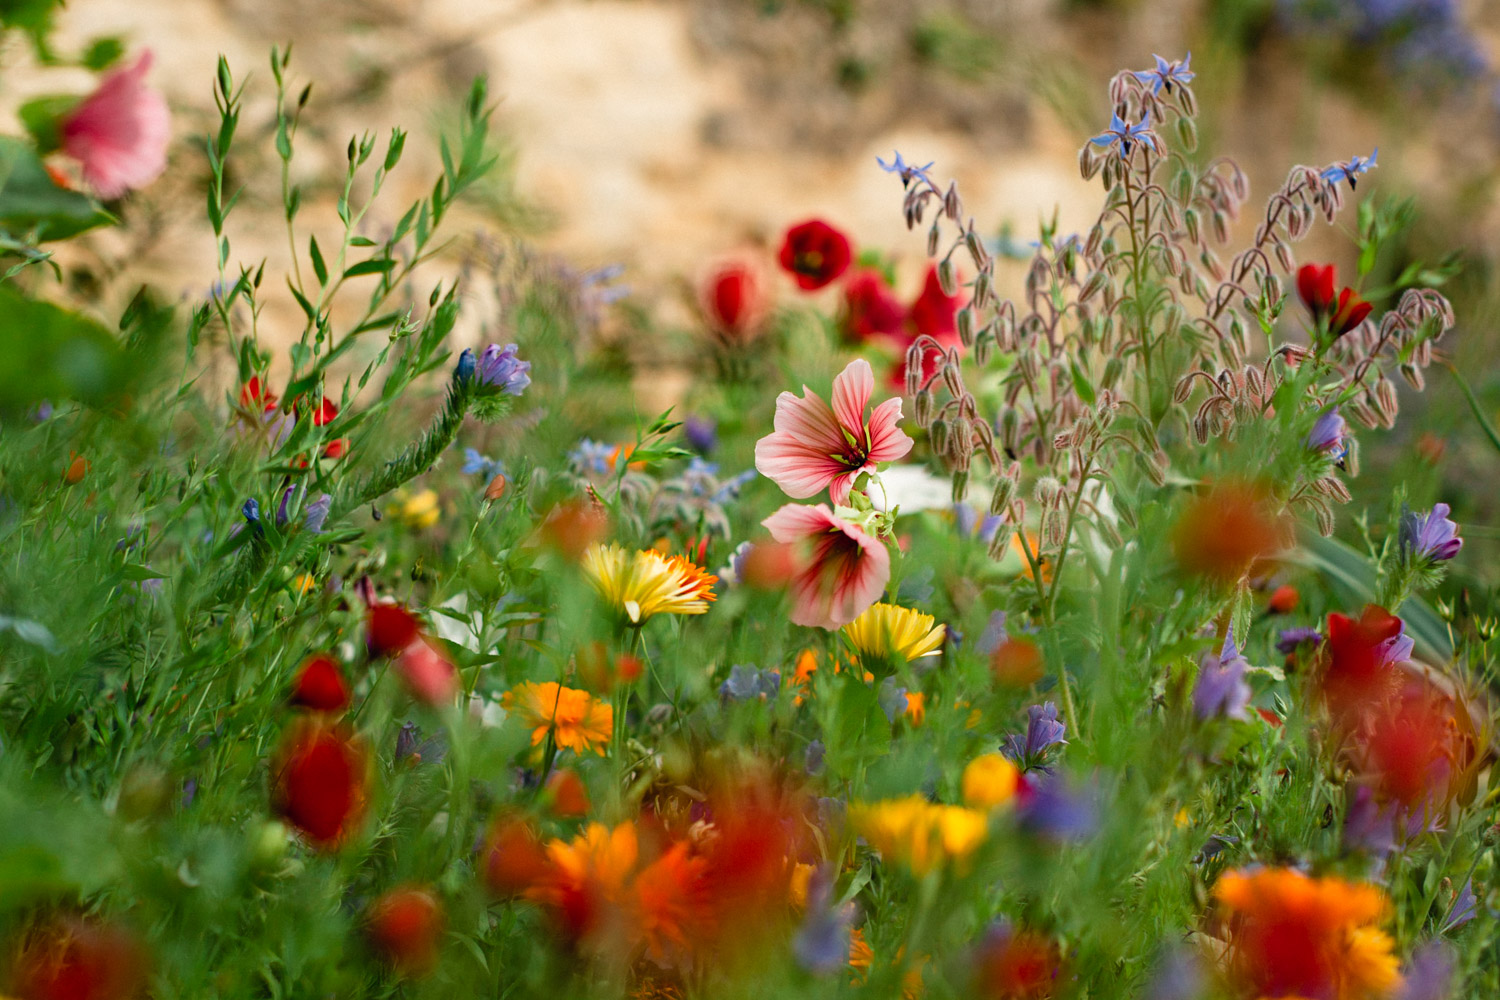
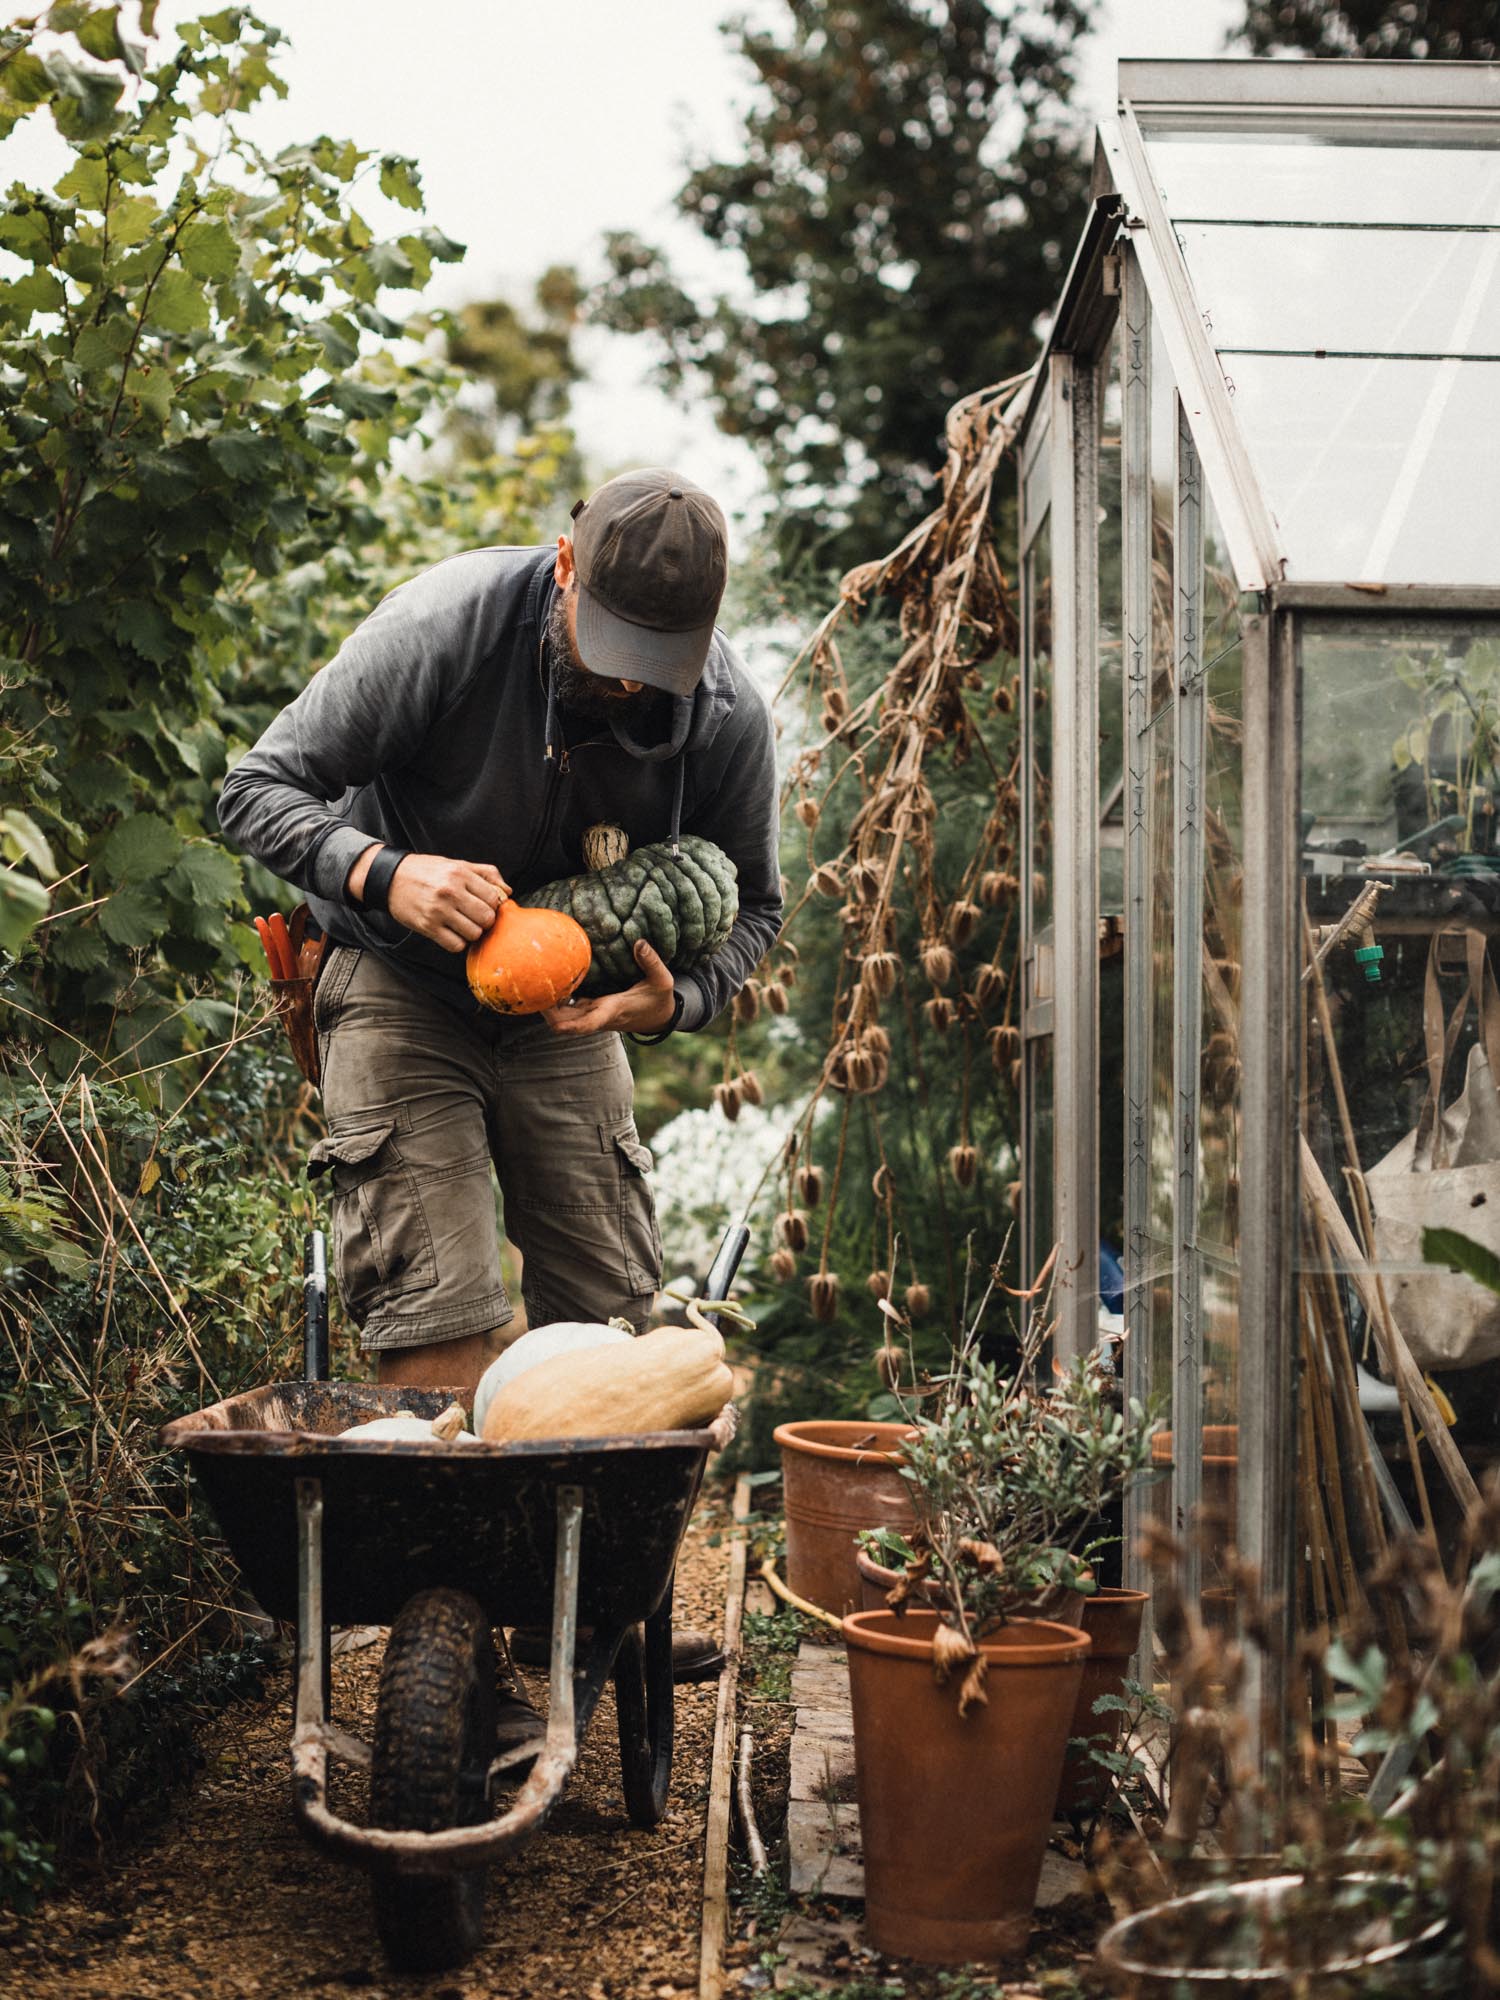
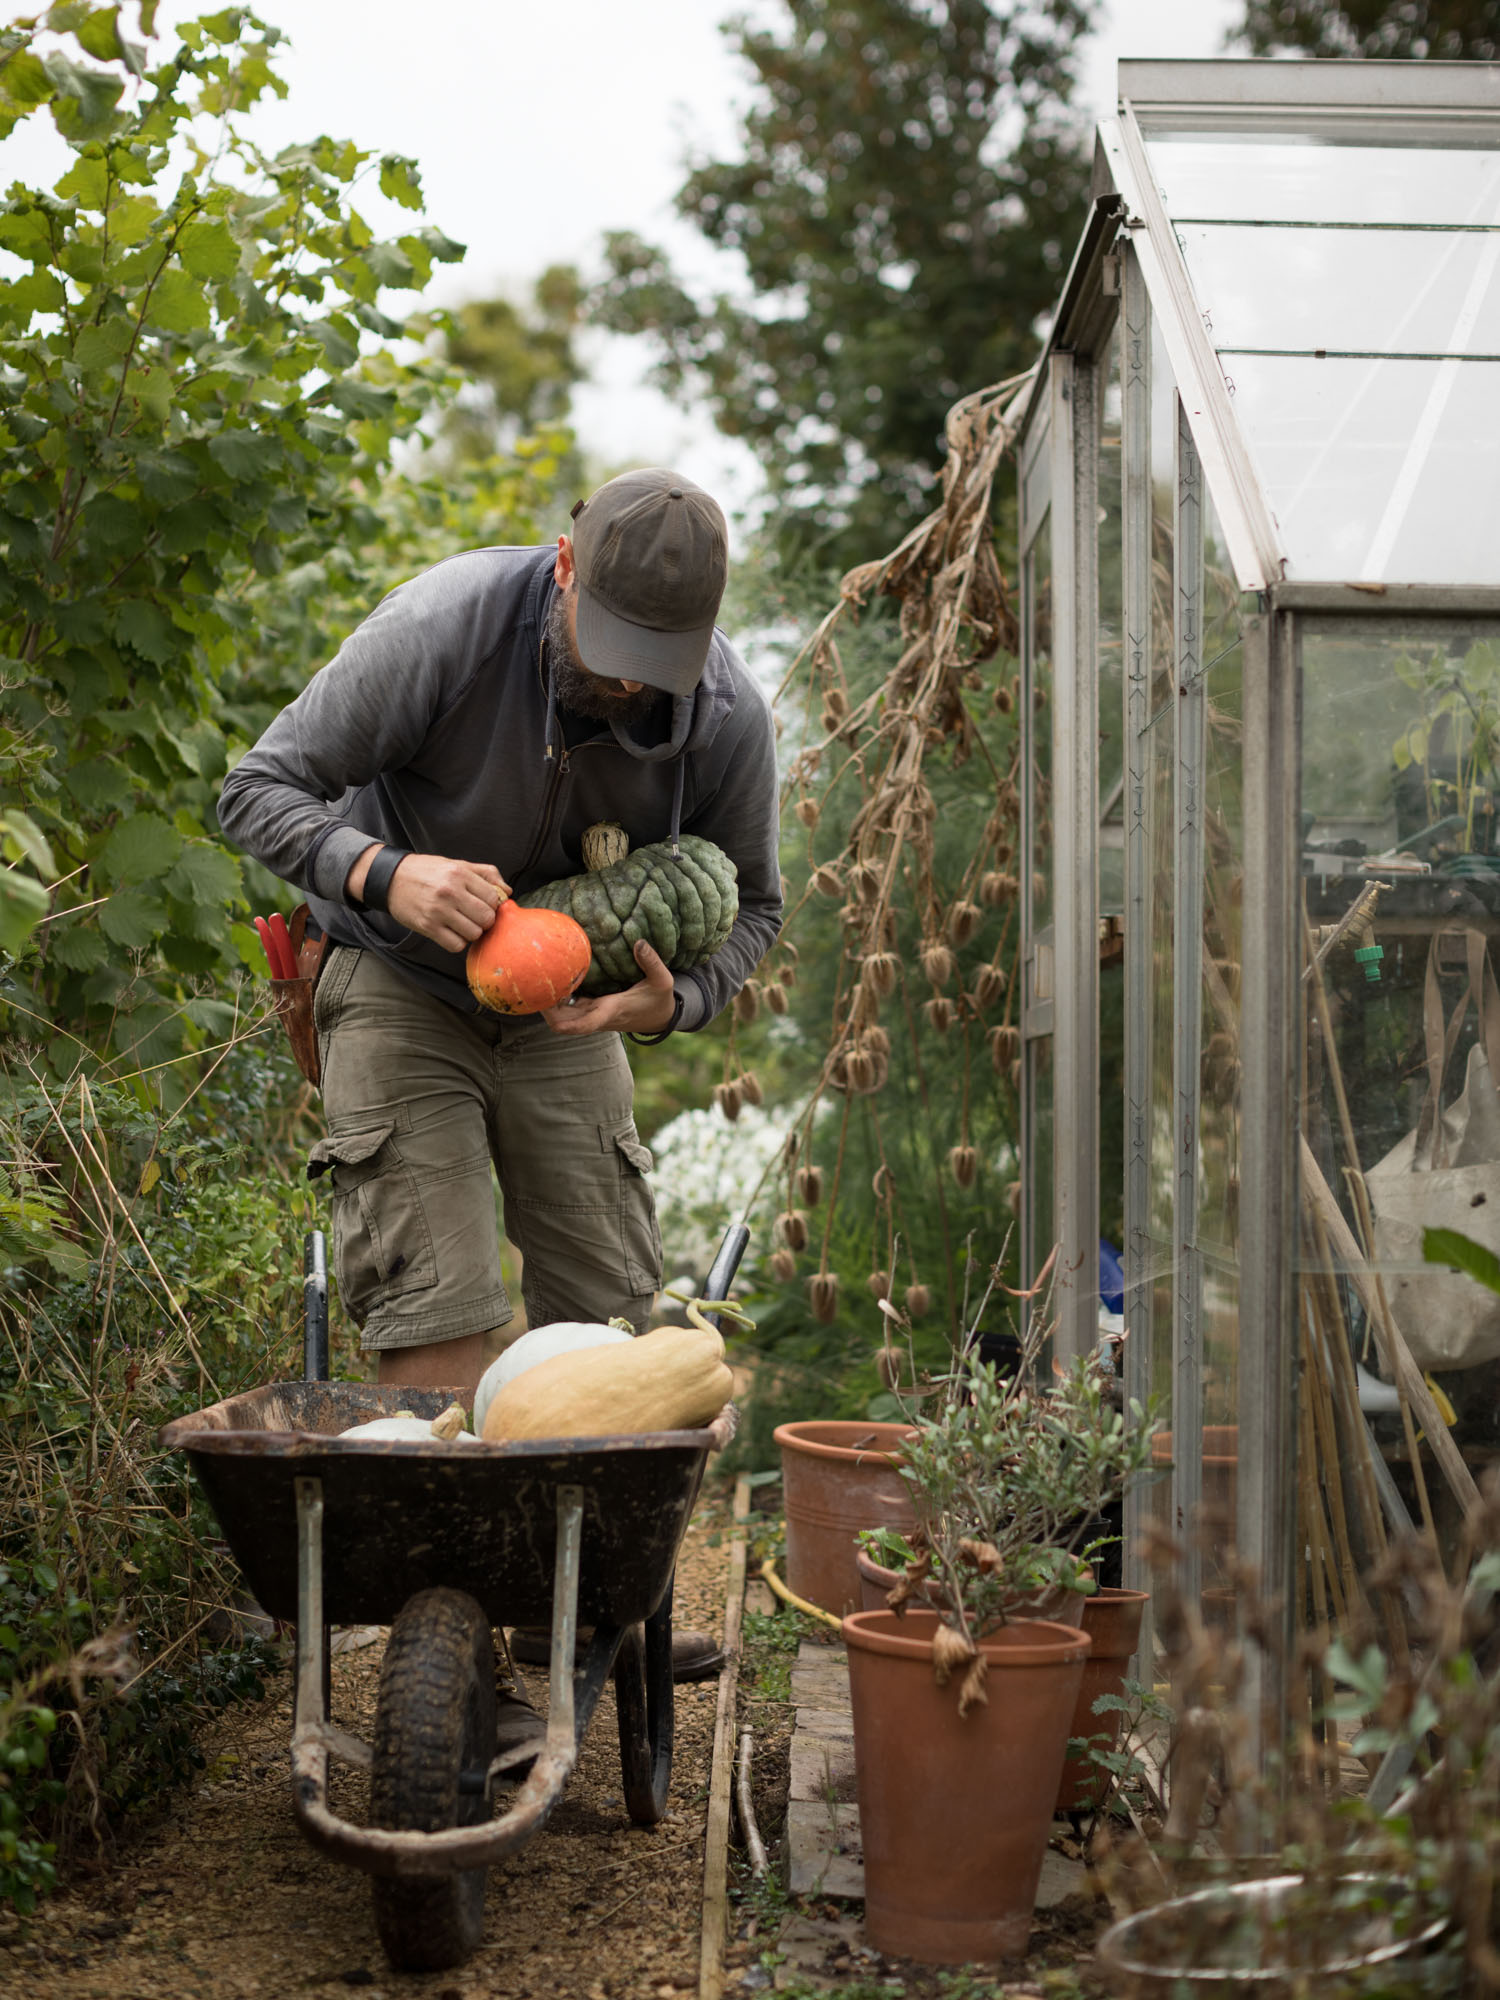
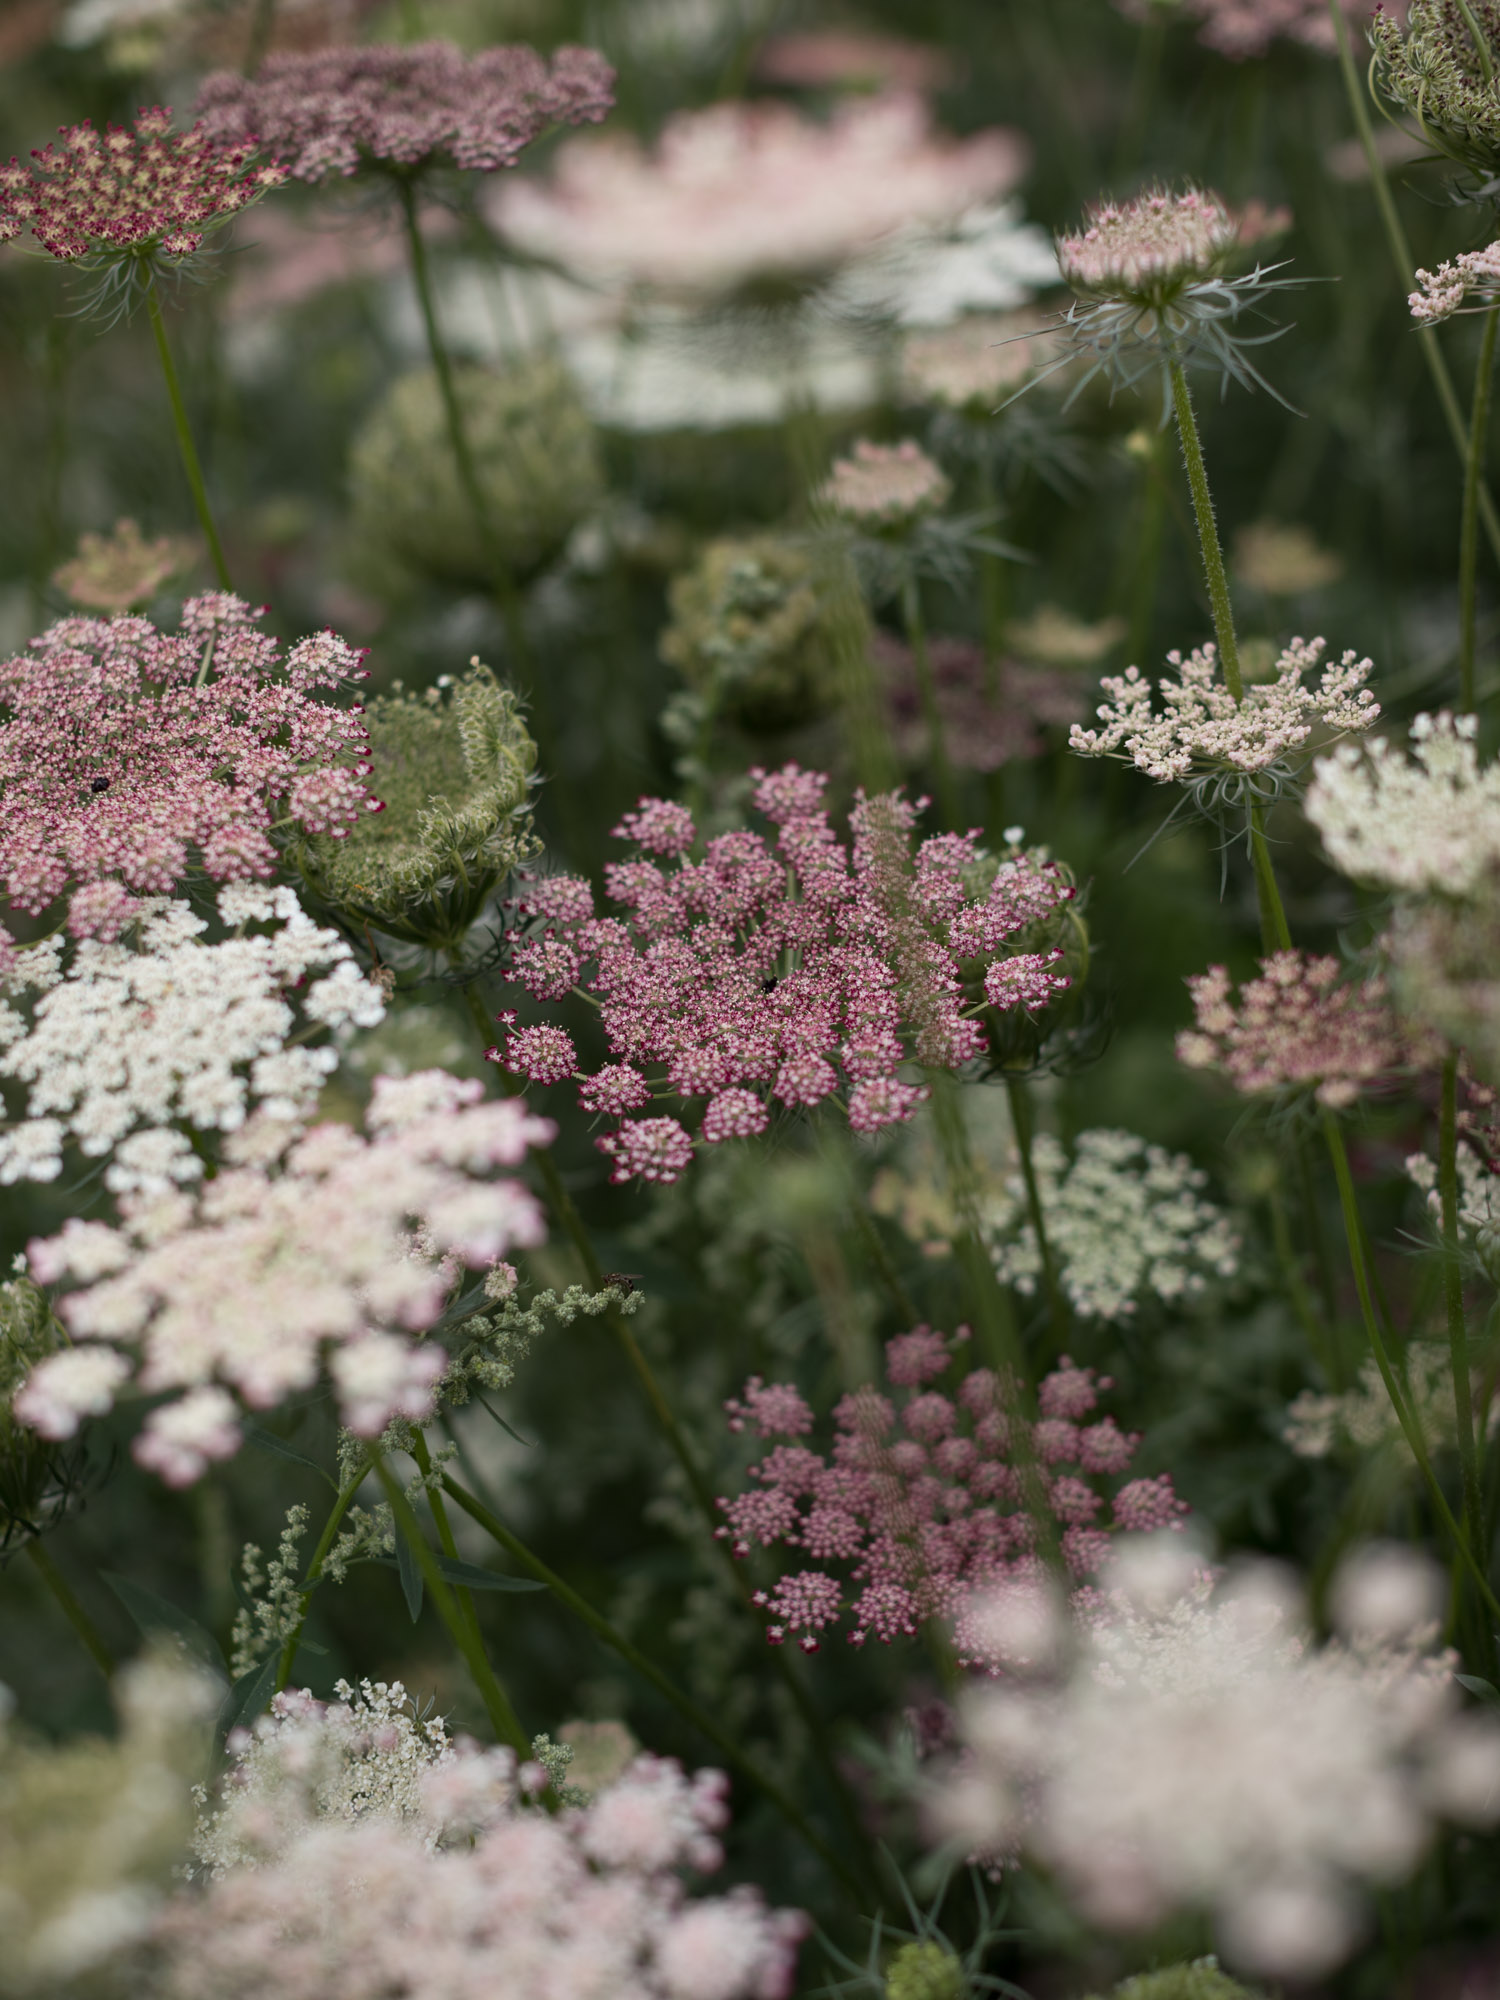
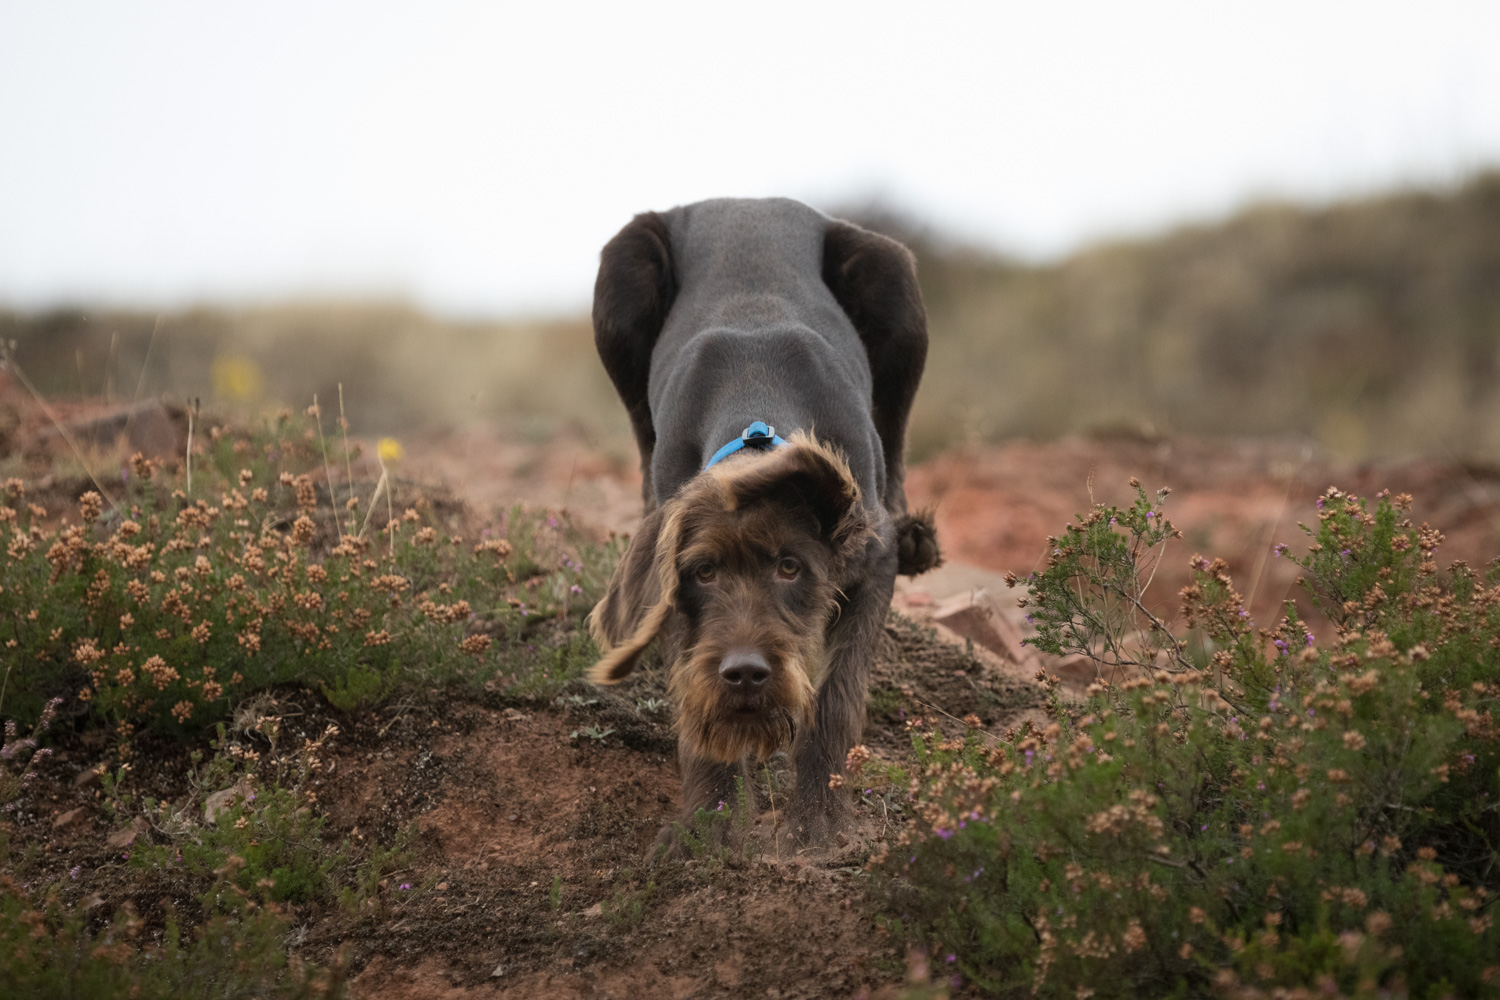
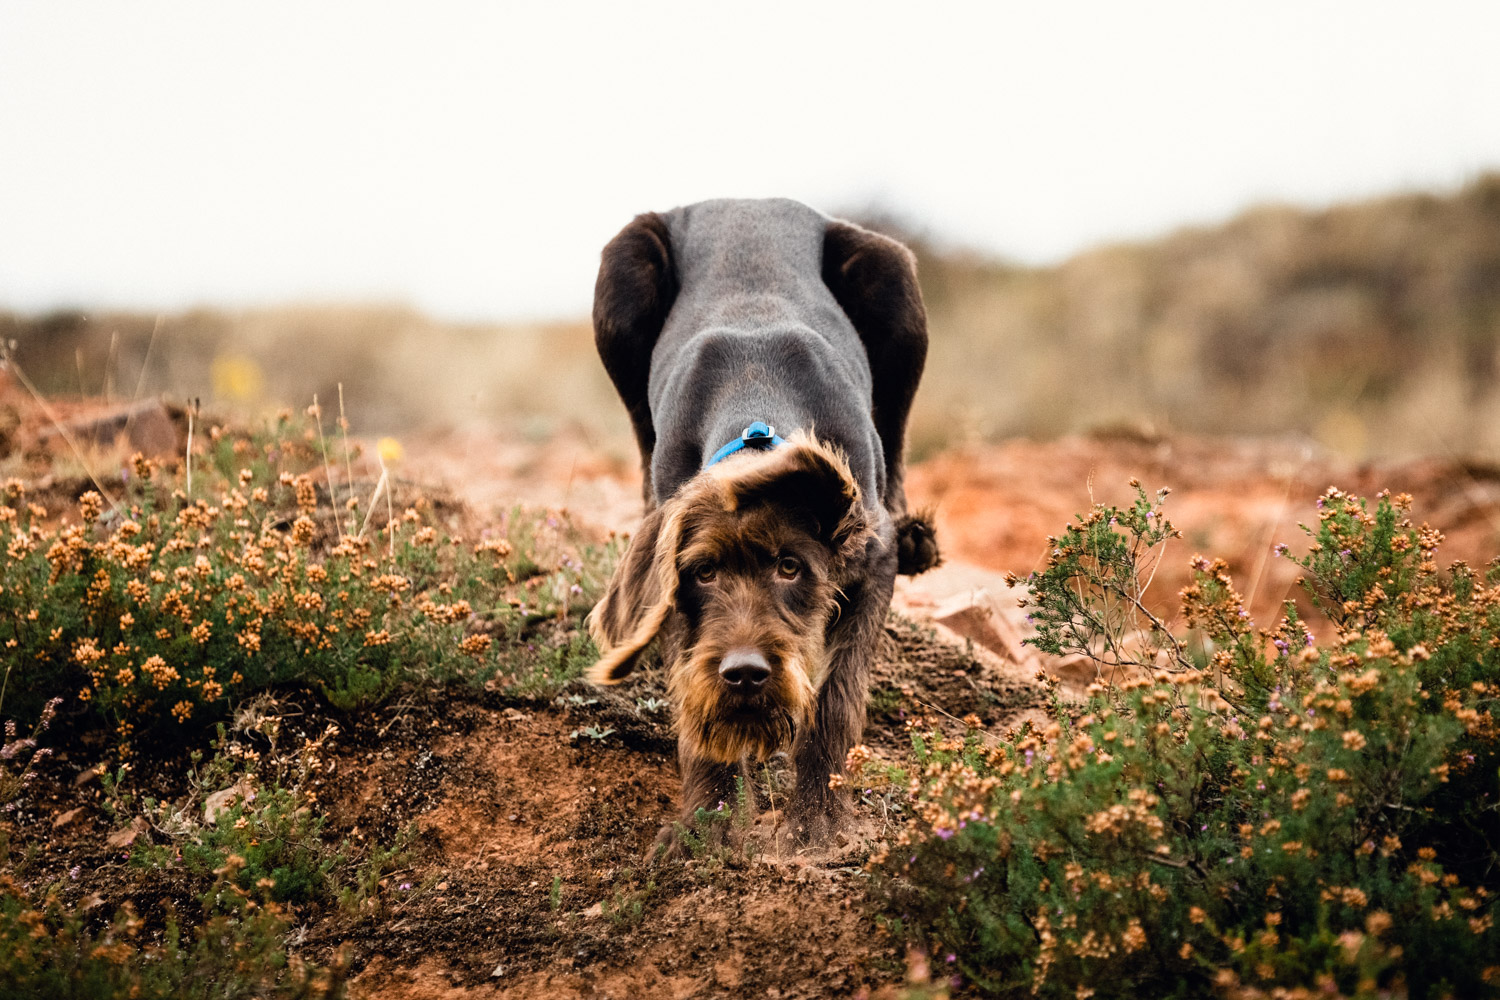
These Lightroom presets aren’t intended to be revolutionary, but have come about entirely as a result of processing my own photography over many years. My approach to image processing in Lightroom isn’t all that different from the approach I used to take in the darkroom. I simply want to get the best I can from the original image; to naturally enhance what I’ve already captured.
What’s Included?
The collection includes 7 styles, each with at least 3 variations, plus a set of extra tools to further enhance your photos.

The Style
These Lightroom presets are inspired by film, but are not emulations of specific films. When I used to shoot film I favoured Kodak Portra for colour work; it’s natural warmth and fantastic versatility made it the go-to film for many photographers. In developing this collection my aim has been to include elements of Kodak and Fuji print films, plus a bit of Kodak transparency (slide film).

The Collection
There are seven main presets in this collection. They are not designed to make drastic changes to your photos, but instead to bring some natural depth and ‘feeling’. Each one comes in three strength levels: the standard version, a ‘less’ version, and a ‘more’ version, allowing you to ‘dial in’ the right amount for your photo. You can then fine tune the sliders to your own taste.
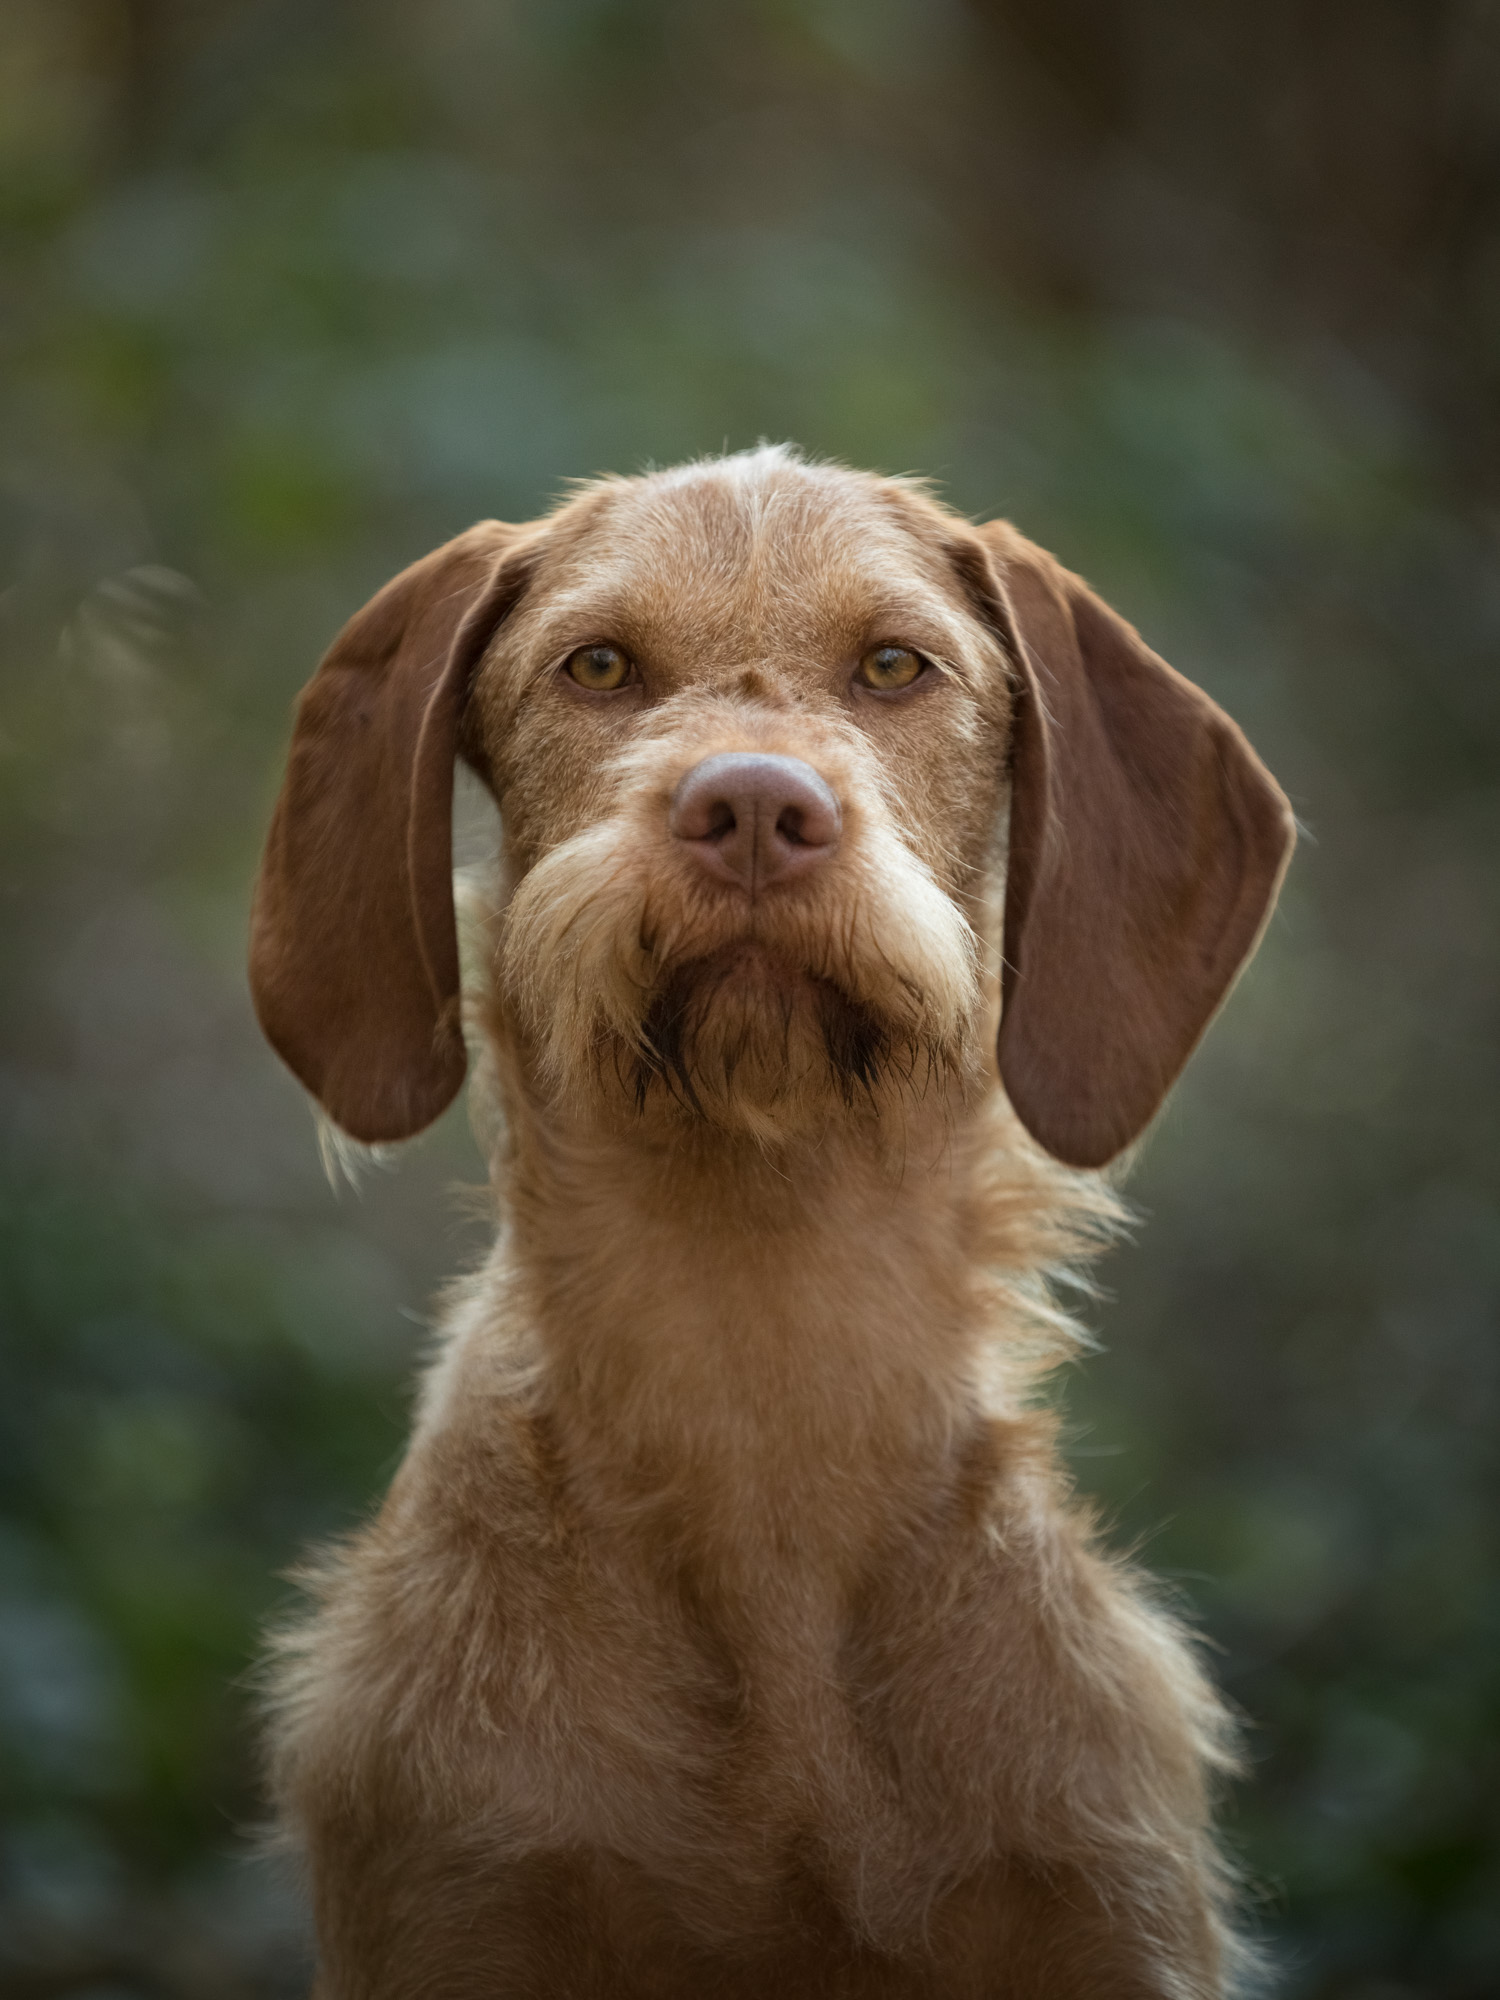
OC2 / Connect
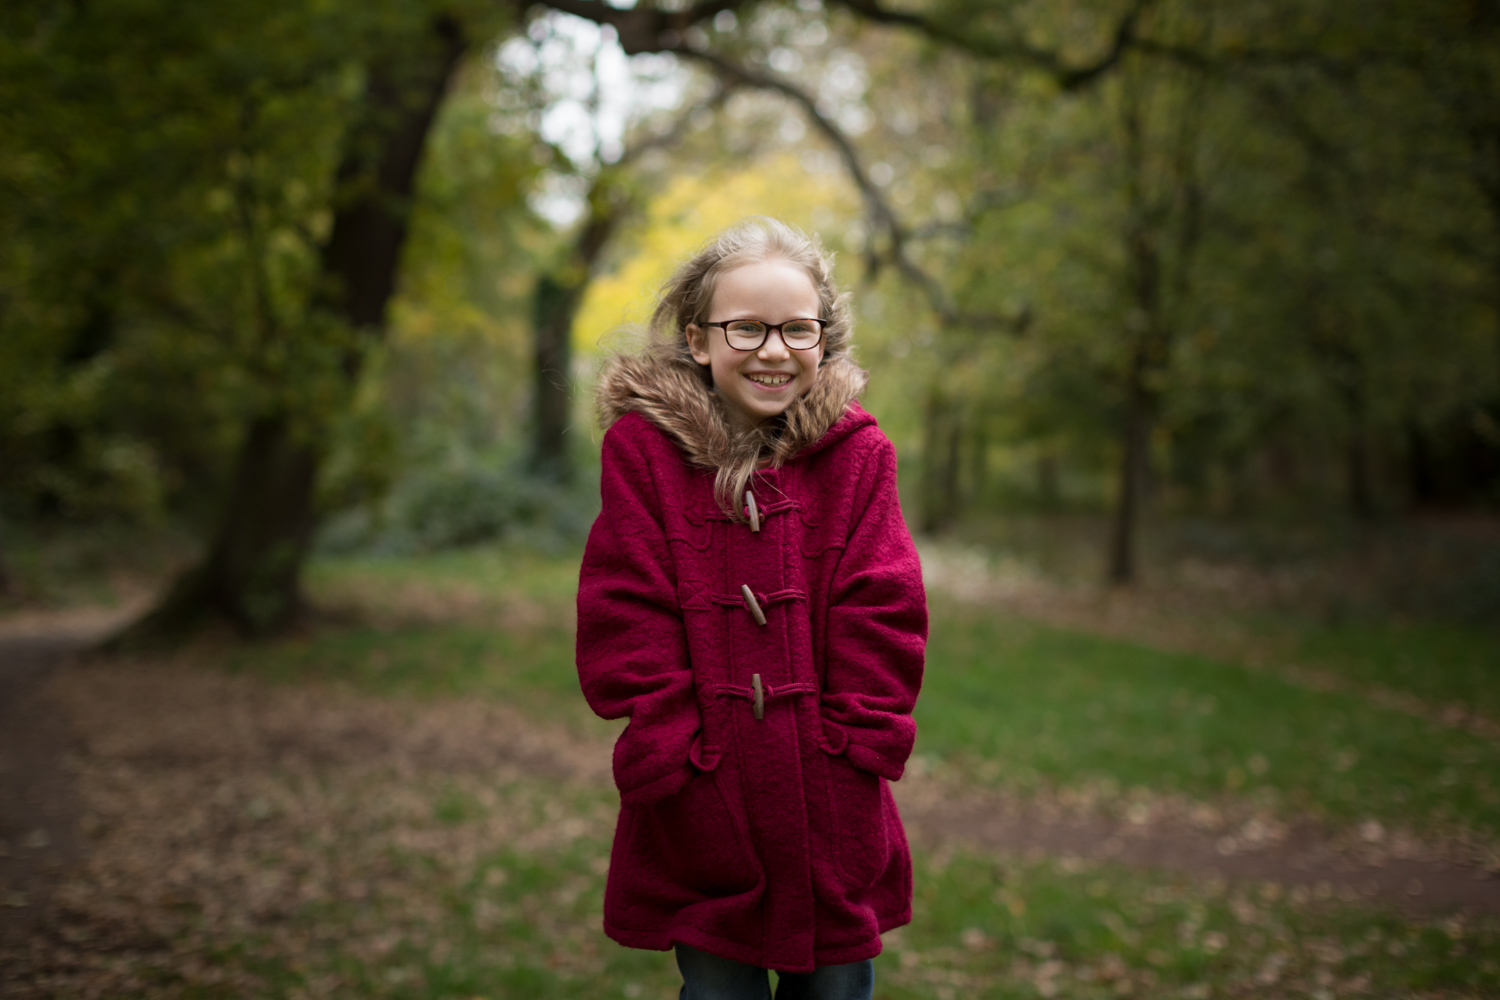
Well-balanced and natural with great skin tones. OC2 is an excellent choice for portraits, but is also ideal for any situation requiring accurate colours and medium contrast.


OC3 / Wander
Super versatile, lively and well-rounded. OC3 will enhance most images, giving them some clean boost and character without overdoing it.
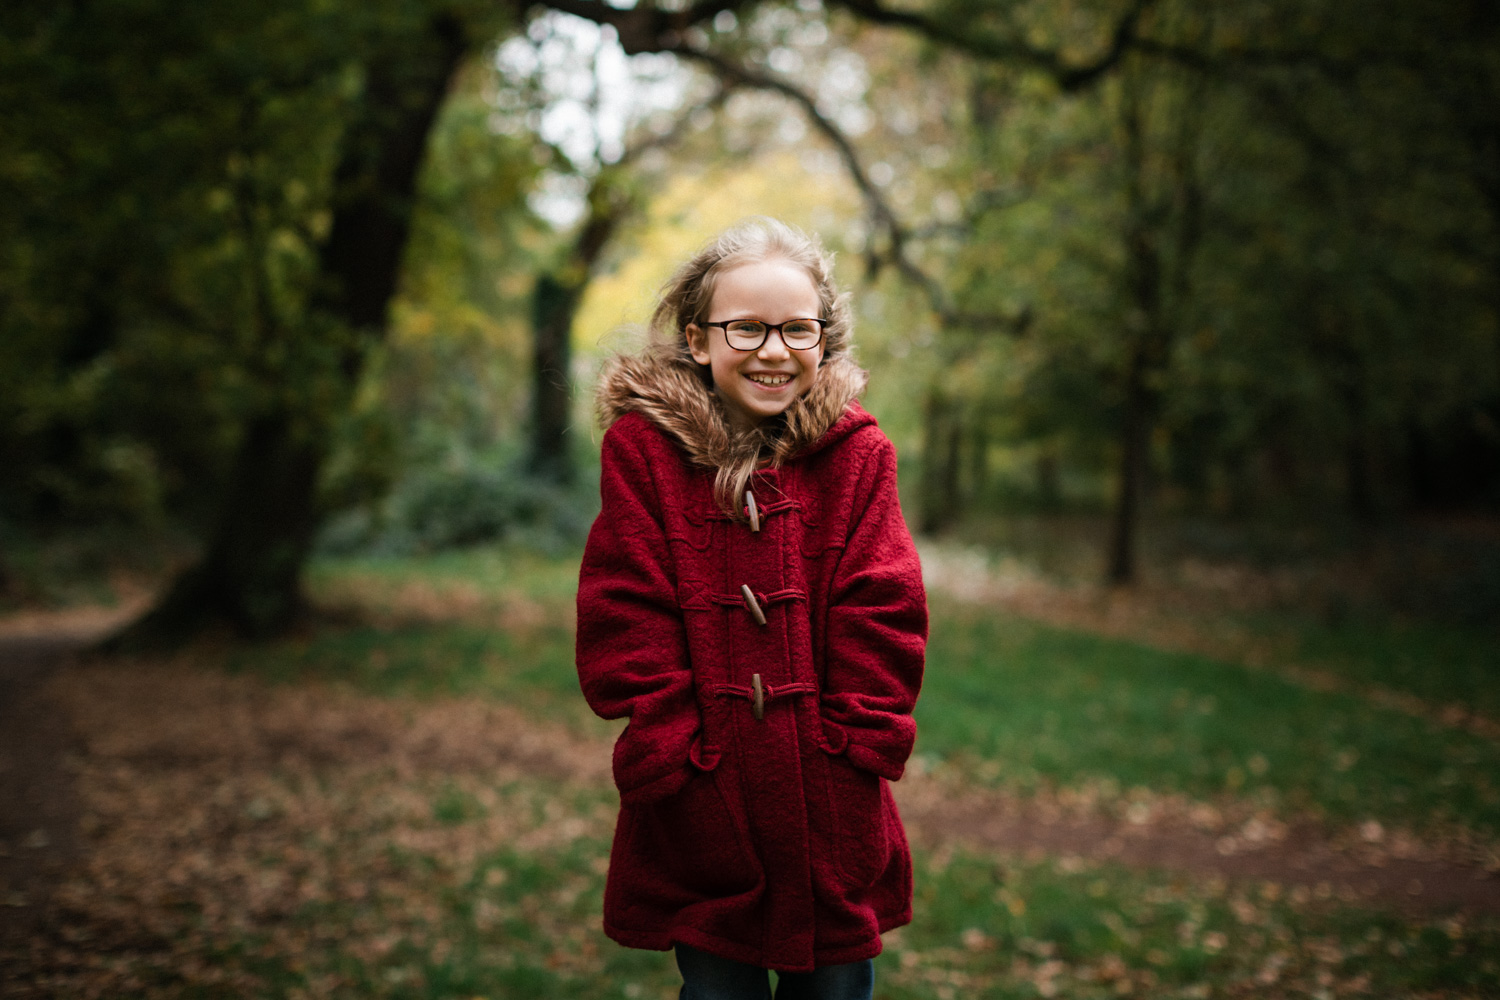
OC4 / Gather
Natural, stylish, and versatile. One of my favourites in the pack, OC4 brings organic character through some subtle colour shifts and just the right amount of fade. Contrast is medium with plenty of definition in the mid-tones.

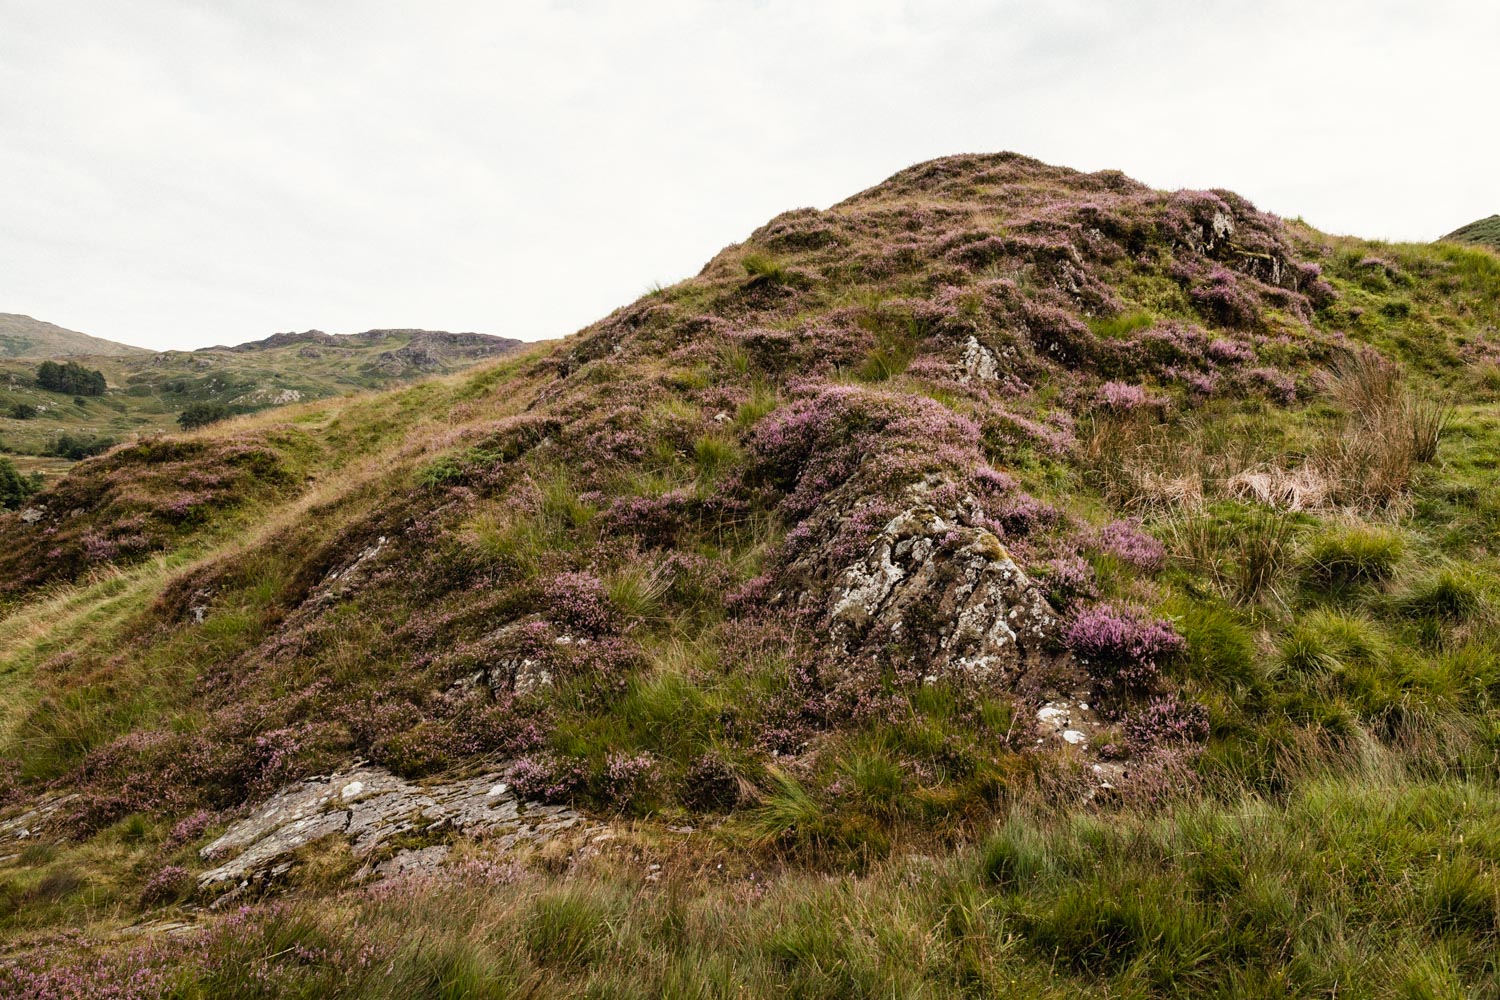
OC5 / Explore
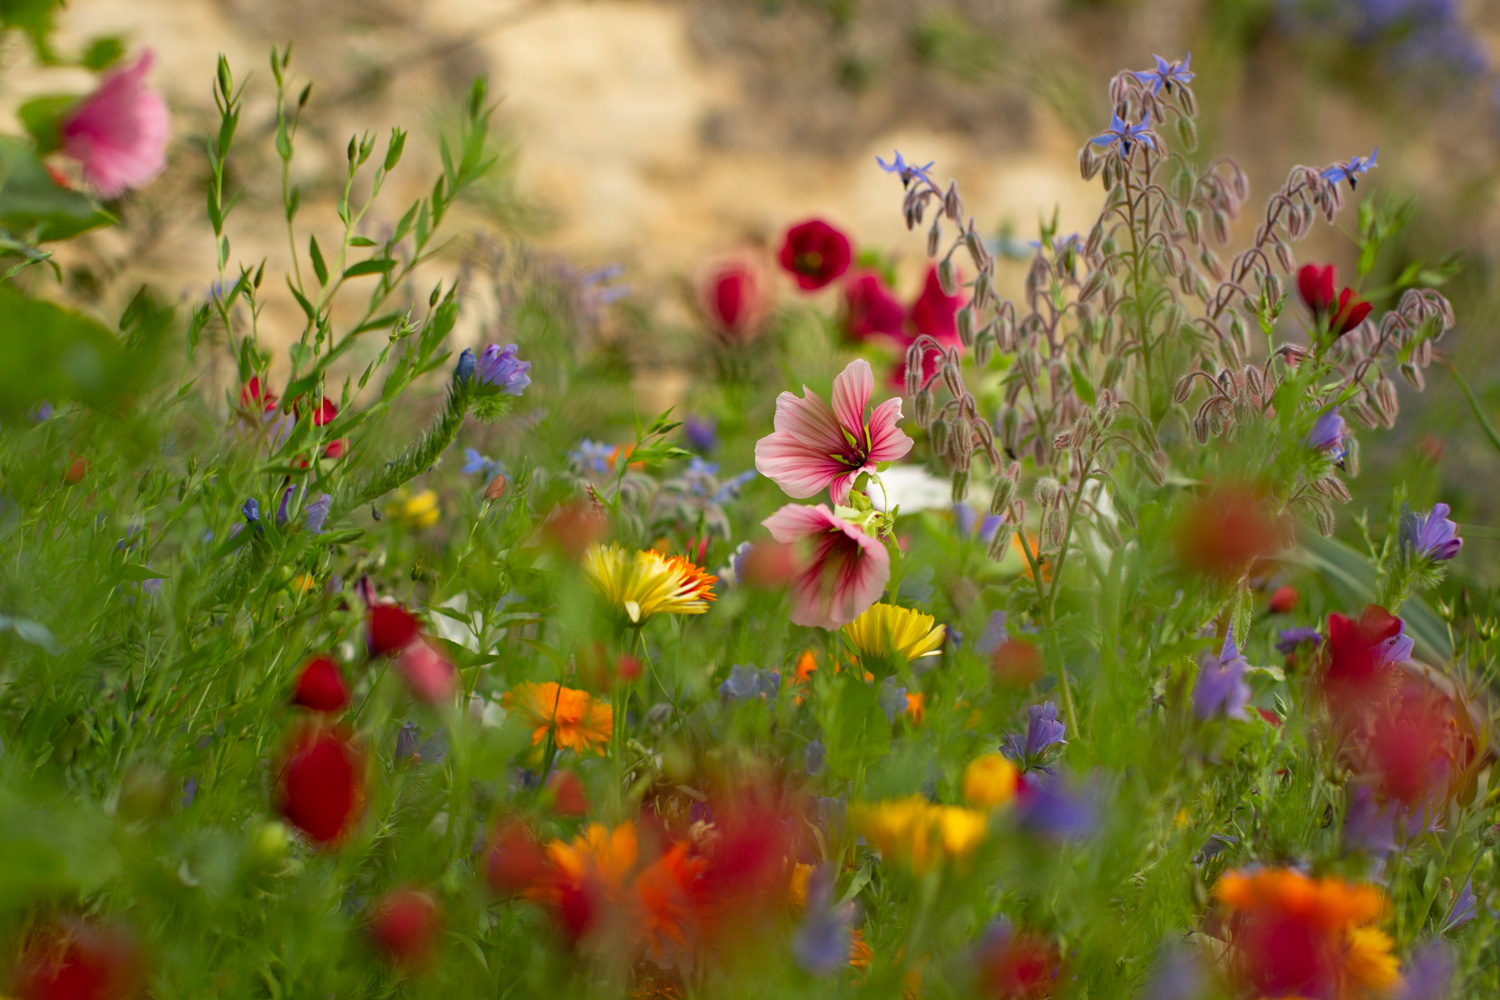
Vibrant, colourful and warm. This preset is inspired by classic Kodak transparency films such as Ektachrome and Kodachrome. It adds some punch but remains clean and very usable.
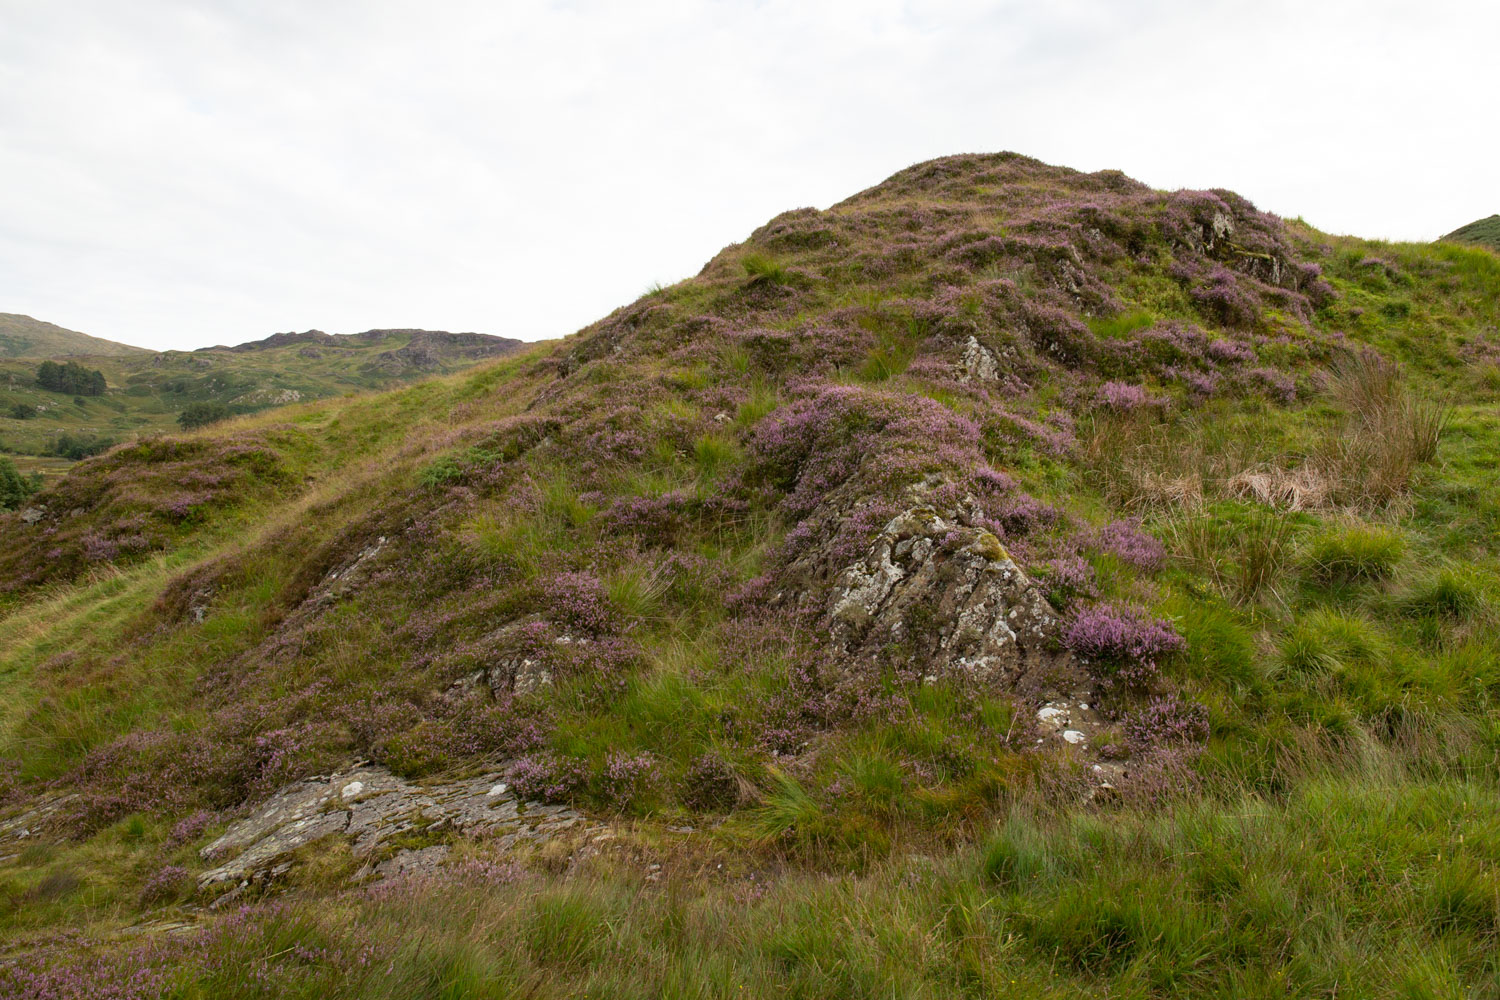
OC6 / Seek
Similar to OC4 but a bit more moody. Good contrast, slight fade, and a touch of blue in the shadows. The mid-tones remain clean with a hint of warmth in the highlights.

OC7 / Escape
With significant fade and a slightly washed out feel OC7 is by far the lowest contrast preset in the pack. A great choice for the modern matt look, but also excellent for toning down harsh summer sun. Colours remain natural with a slight pastel shift.
Tools
The Organic Collection also includes a few extra tools to help further enhance your photos.

Contrast: LESS, MORE, MUCH LESS, MUCH MORE, RESET
This set of tools allows you to easily increase or decrease the level of contrast in a photo without affecting any elements of the initial preset you’ve added. Each one does just what it says, and RESET will remove the effect without altering any other settings. Simple but extremely useful.
Grain: Film, NONE
Each preset in the Organic Collection applies some grain as standard. I find this strengthens the natural, film inspired look and adds some depth. However, if this isn’t to your taste simply click Grain - NONE to switch it off. If you want to add a consistent amount of grain to your images, instead of the slight variations within each OC style, then the Grain - Film tool will add a good general mix.
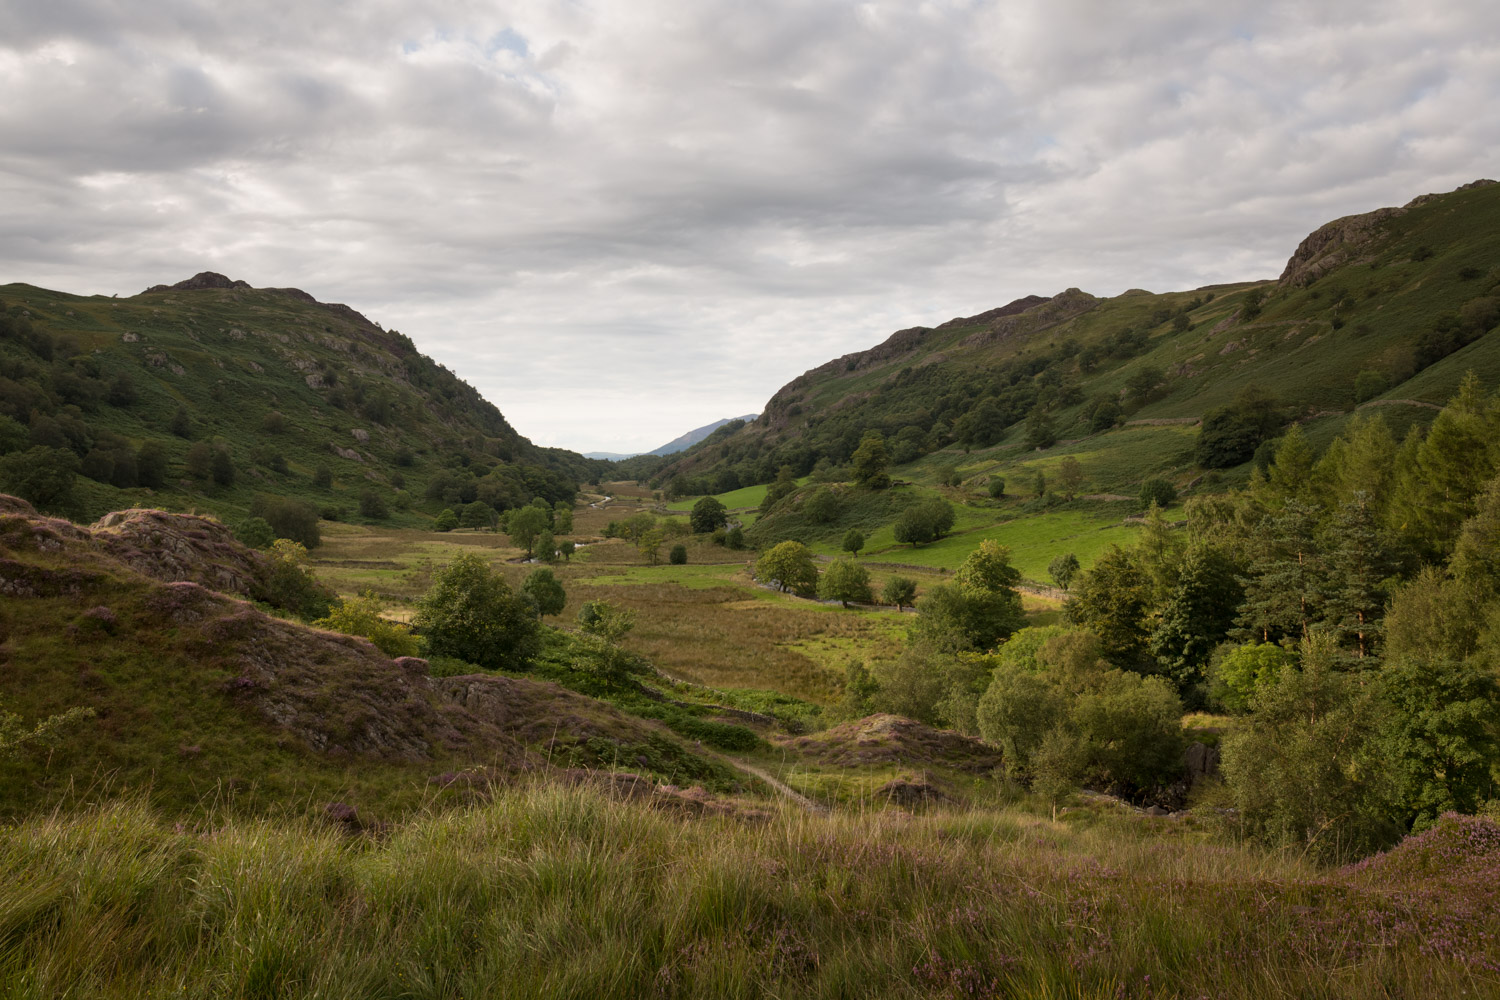
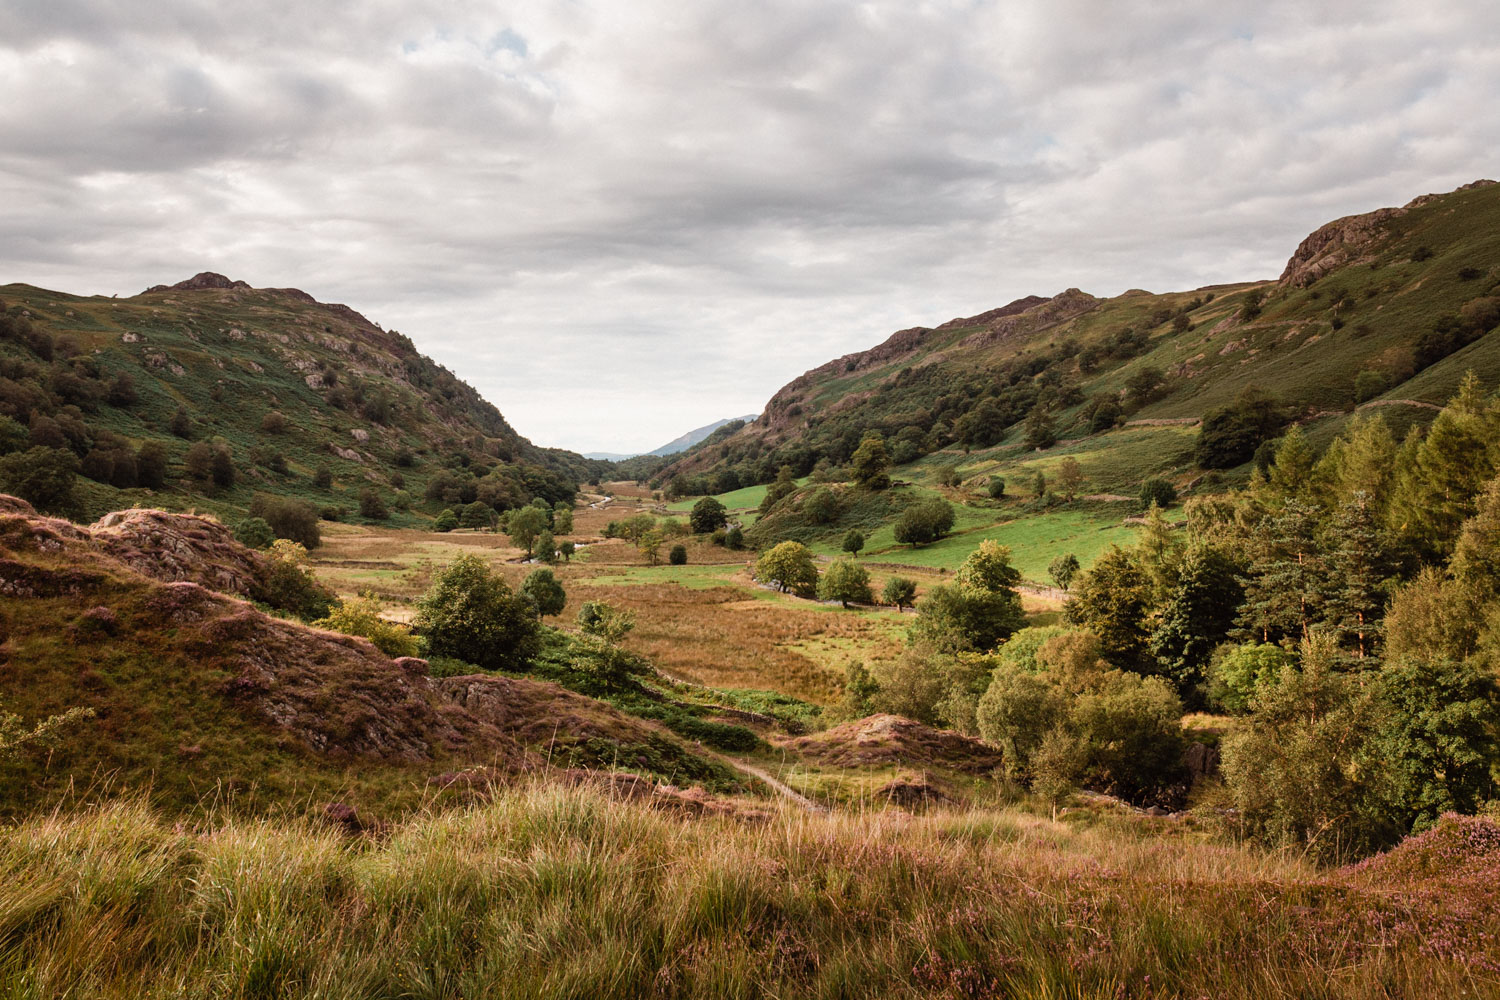
Radial: Landscape, Portrait
If you want to subtly draw attention to a particular area of an image then it can be useful to slightly darken the areas around it. There are several ways of achieving this in Lightroom, but one that I often use is the radial filter. This is one of those tools that can be very effective when used correctly, but does have the potential to ruin an image if used badly, so handle with care!
Click Tools - Radial (Landscape or Portrait depending on the orientation of your photo).
Click the Radial Filter tool (or Shift+M).
Click the dot in the centre of the radial filter to activate the filter.
Adjust the size and angle of the radial filter using the four handles and the rotational arrows.
Adjust the Exposure slider for the filter to a level that looks good for the photo.
Click the Radial Filter tool to de-avtivate the tool.
See the process here…
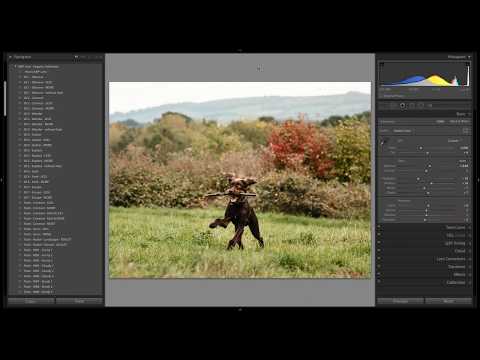
Using the radial filter in Adobe Lightroom Classic to draw attention to the main subject in a photo.
White Balance: Sunny (1, 2 & 3), Cloudy (1, 2 & 3), Shady (1, 2 & 3)
White balance is simple enough to adjust using the WB sliders, dropdown menu, or White Balance Selector tool, but I also find it useful to have a few go-to settings available as presets. I would generally recommend setting your camera to auto white balance, in which case you may not need to make any adjustment in Lightroom. Auto white balance can be inconsistent though, so try some of these settings based on your shooting conditions and see what you think. (Please note, these white balance presets only work with RAW files, not JPEGs.)
Purchase the collection…

AMP Lens - The Organic Collection
£35.00
Lightroom presets designed to naturally enhance your photography.
The collection contains 7 main styles, each with at least 3 variations, plus a set of additional tools to further enhance your photos.
Full information and example images see here.